You can edit a video on a phone in about ten minutes, and you do not need a computer, a paid app or any experience. Cut the clip, drop a title on it, add a music track, preview once and export. That is the whole beginner loop.
That loop matters more than it used to. Most short-form creators now shoot, cut and post from the same device, and the free editors built for phones (CapCut, InShot, VN) handle 4K footage without breaking a sweat. The gap between a phone edit and a professional one is mostly patience and restraint, not gear.
This guide covers how to edit videos on a phone for beginners by method first, not app by app. Any editor you pick will do the same eight things, in the same order. Learn the method here, then open whichever app looks least intimidating.
Last updated: October 2026
Table of Contents
- What You Need
- How to Edit Videos on a Phone for Beginners
- Step-by-Step
- Common Mistakes
- Frequently Asked Questions
- What is the easiest video editing app for beginners?
- Can I edit videos on my phone without an internet connection?
- How do I add captions or subtitles to a video on my phone?
- What should I do if my editing app crashes or my project disappeared?
- What resolution and frame rate should I export for short video?
- Conclusion
What You Need
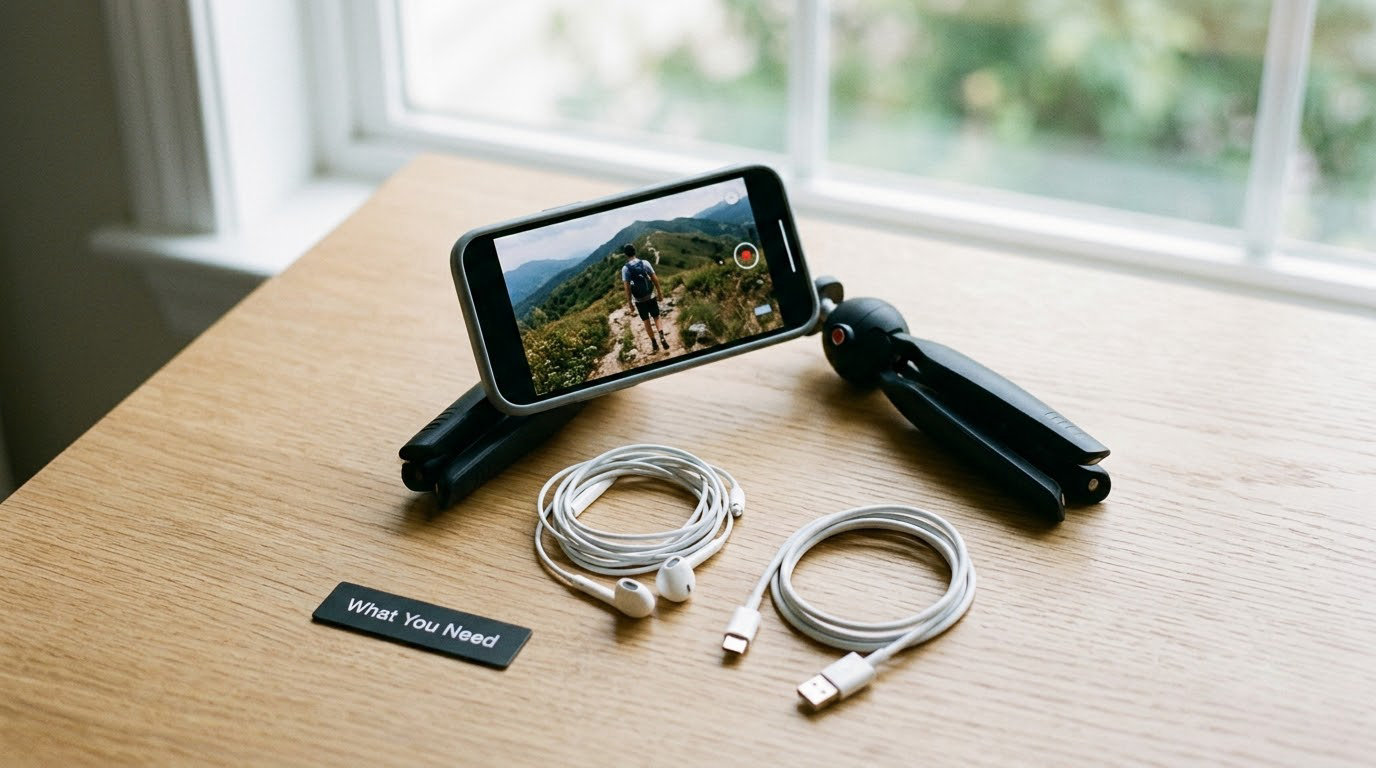
Very little, honestly. A phone you already own, one editing app, and the original footage.
- A phone with a few gigabytes free. A 4K clip runs roughly 400 MB per minute, so clear space before you import anything.
- One editing app. Pick one and stay in it for your first three projects. Switching apps mid-learn is the fastest way to get confused.
- Your original clip. Never edit the only copy. Copy the file, edit the copy, and leave the original untouched.
- Optional: a small tripod. A cheap one with a clamp holds a phone still for talking-head and voiceover clips.
- Optional: wired earbuds. If you plan to record a voiceover while music plays, wired earbuds keep your narration from picking the music back up.
- Optional: a charging cable. Long projects drain a battery fast, and most phones throttle performance once the battery drops low.
A laptop, a graphics card and a paid subscription are all optional. If your video is under about a minute, a phone is genuinely enough.
How to Edit Videos on a Phone for Beginners
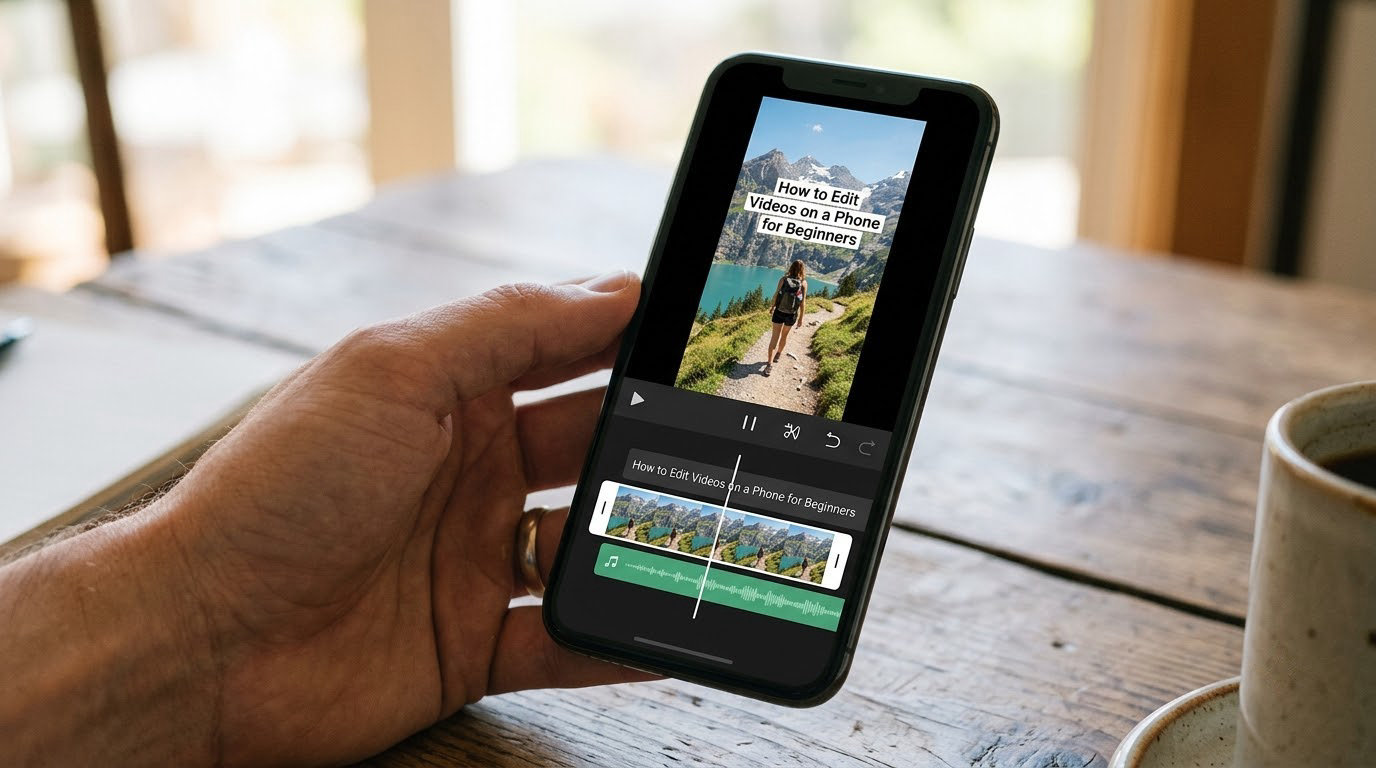
Every mobile editor looks different on the surface but works the same underneath. A timeline runs along the bottom of the screen showing your clips as blocks whose length matches their duration. Tap a block to trim or split it, drag blocks to reorder them, layer music and text on top, then export.
That shared layout is worth knowing, because it means a tutorial for one app will still make sense in another. You are not learning CapCut. You are learning mobile video editing.
The beginner workflow in eight moves
- Import your footage into a new project.
- Trim each clip so nothing unwanted sits at either end.
- Split long clips at the points where the scene changes.
- Drag the pieces into the order you want them.
- Add a transition only where two clips meet awkwardly.
- Add music at low volume, then lower the original audio underneath it.
- Add text or auto captions in a font that reads easily at small size.
- Preview at full speed, then export at the right resolution and frame rate.
Do those eight things and you have a finished video. Everything else in these apps is optional polish.
What the words mean
The vocabulary is the real barrier for new editors, so here it is in plain English.
| Term | What it actually means |
|---|---|
| Timeline | The strip along the bottom where your clips sit in order. The whole video plays through it from start to finish. |
| Trim | Shortening a clip by dragging its edge inward. Nothing is deleted, so you can drag the edge back out. |
| Split | Cutting a clip into two separate pieces at the playhead, so you can move or delete one half. |
| Transition | A short effect placed between two clips, such as a fade or a swipe. It masks a cut that would otherwise look abrupt. |
| Aspect ratio | The shape of the frame: 16:9 is a wide landscape rectangle, 9:16 is the tall vertical shape used by Reels, TikTok and Shorts. |
| Resolution | How many pixels make up the frame. 1080p is 1920 by 1080 and looks clean on a phone; 4K is 3840 by 2160 and is mostly useful on bigger screens. |
| Frame rate (fps) | How many pictures per second make up the moving image. 30fps is the everyday default; 60fps looks smoother and is worth it for fast motion or gaming. |
| Jump cut | Deleting the boring stretch between two parts of a clip so the video jumps straight to the next moment. It is the simplest edit there is. |
| B-roll | Extra footage cut in over the main shot, like a close-up while someone talks. It hides a bad edit and keeps attention. |
| Keyframe | A marker that tells something to move or change at a specific moment, such as a photo slowly zooming in. |
| Export | Saving the finished file out of the app and into your camera roll or photo library. |
| Watermark | A logo or text some free apps stamp on your export. Usually avoidable, but check the export screen before you finish a long project. |
Step-by-Step
Step 1: Prepare and Back Up Your Footage
Copy your original clip before opening any editor. On iPhone, open Photos, tap the clip, tap Share, then Save Video to make a duplicate. On Android, the copy usually lands in a folder called Camera or DCIM in your file manager.
Next, decide the shape of the video before you start, because it changes everything downstream. A Reels, TikTok or Shorts video is vertical 9:16. A YouTube video is horizontal 16:9. If your footage is vertical and you are posting to YouTube, hold the phone upright anyway or expect black bars.
Check your free storage too. Open Settings and look at storage; on both platforms, 4K video eats space quickly and an app that runs out of room mid-project tends to crash or silently drop the last few edits.
You can tell it worked because the duplicated file shows up in your library with a slightly different name or a “copy” label.
Step 2: Create a New Project
Open your chosen video editing app and tap the plus button or New Project. Then pick the main clip first, because its orientation sets the frame shape for the whole project.
Look for an aspect ratio or Canvas setting, often near the top of the screen or inside a ratio menu. Choose 9:16 for vertical social video and 16:9 for everything else. Some apps ask you to pick a template instead, and the template defines the ratio. Choose a plain blank project if you would rather set it yourself.
Confirm the frame and you will see your clip as blocks on a timeline along the bottom, with a preview window above it. That is the editor, and it is simpler than it looks.
Step 3: Arrange and Trim Your Clips
Start with trimming, because a tight edit fixes more than any filter. Tap a clip to select it, then drag the white handles at either end inward to shorten it. Watch the duration counter as you drag so you cut roughly, then fine-tune.
To cut out a section in the middle, place the playhead where the bad part starts, tap Split, move the playhead to where it ends, and tap Split again. Now you have two or three pieces. Tap the bad piece and hit Delete.
That is a jump cut, and it is the whole trick to making short-form video feel tight. Cut out every pause, every throat-clear and every second where nothing happens.
Reordering takes one gesture. Press down on a clip and drag it to a new position on the timeline, then lift your finger. Most apps snap clips together so there are no gaps.
Play the whole timeline from start to finish at this stage. If the order of events makes sense out loud, the edit is working. If a clip feels out of place, move it now, before you add anything on top of it.
Step 4: Add Music, Text, and Effects
Audio first, because it sets the pace. Tap Audio or Music, browse the library, and pick a track. Almost every app has a volume slider for the music and a separate one for your original clip audio, so lower the original to about 20 to 30 percent so speech stays clear.
A word on licensing: music inside an app library is usually licensed for personal and platform use, not for monetised or commercial projects. If a video pays you, use a track the platform provides inside its own composer, or a library with a commercial licence. This is the single most common reason monetised videos get muted or claimed.
Then text. Tap Text, pick a style, and type something short. Drag it into the frame, then use the font size slider until it is readable with the phone held at arm’s length rather than right in front of your face. Give it a drop shadow or a semi-transparent box if it sits over a busy background.
For speech in your video, auto captions are the single feature beginners mention most. Look for Auto Captions or Text to Speech in the Text menu, run it, then read through the result and fix the wrong words. Automatic captioning gets structure right and proper nouns wrong, so always proofread before you export.
Effects and filters are last, not first. A filter changes the whole look of a clip in one tap, so it can rescue flat footage, but adding three means the viewer has nothing to focus on. Use one filter on the whole video, keep it subtle, and adjust brightness and contrast only if the shot looks genuinely dark.
Transitions belong between clips, so tap the small icon sitting between two blocks to add one. Use a plain fade or cut most of the time. A swirly transition between clips that already match looks like a mistake.
Step 5: Review and Export Your Video
Preview the finished video once, at full speed, from the beginning. Scrubbing through the timeline misses problems; watching it plays them out. Look for text sitting off screen, captions running too fast to read, a music track louder than the voice, and a clip that starts or ends awkwardly.
Then tap Export or Save. This is the screen beginners skip and later regret, because it is where the aspect ratio, resolution and frame rate get decided.
| Where it goes | Aspect ratio | Resolution | Frame rate |
|---|---|---|---|
| Instagram Reels | 9:16 vertical | 1080p | 30fps |
| TikTok | 9:16 vertical | 1080p | 30fps |
| YouTube Shorts | 9:16 vertical | 1080p | 30fps |
| YouTube (standard video) | 16:9 horizontal | 1080p, 4K for large screens | 30fps, 60fps for fast motion |
| Facebook feed and Stories | 4:5 or 9:16 | 1080p | 30fps |
| WhatsApp status | 9:16 vertical | 720p keeps the file small | 30fps |
If you are not sure, export 1080p at 30fps in 9:16. That combination works on every short-form platform and produces a file small enough to upload over mobile data.
Watch the export screen for a watermark option before you confirm, since a few free apps stamp their logo on the last seconds unless you tap past it. When the export finishes, it appears in your photo library. Open it once, watch it there, and you have your first finished edit.
Common Mistakes
These are the errors I see over and over, and each one has a simple fix.
- Trimming too aggressively. Clips cut mid-sentence or mid-motion feel jarring. Leave a short handle at each end, and cut on movement rather than in the middle of it.
- Exporting at the wrong ratio. A 16:9 video posted to a 9:16 feed gets cropped or shrunk with black bars. Set the ratio when you create the project, not at export.
- Exporting too large. A 4K file from a phone is heavy to upload and often looks no better on a phone screen. 1080p is the sensible default.
- Music louder than speech. Open the export, listen with headphones, and drop the music until it sits under the voice rather than beside it.
- Text too small to read. Test it at arm’s length, not face distance. If you cannot read it, your viewer cannot either.
- Bad microphone placement. Voice quality comes from distance and a quiet room, not from the app. Hold the phone about a hand’s width from your mouth and record somewhere soft.
- Forgotten captions. Most viewers watch short video muted. If you skip captions, at least put a line of text on screen telling people what the video is about.
- Overusing effects. Three filters, five transitions and a spinning title make a short video exhausting to watch. One of each is plenty.
- Editing the only copy of the footage. Always work on a duplicate so a mis-tap cannot cost you the original.
When the app struggles
If the timeline stutters, freezes or crashes, the fix is almost always file size. Trim your project into shorter sections, or lower the resolution of your source clips before importing. Users editing 4K on a phone and tablet report that it runs steadily for most projects, but a long timeline of 4K clips still pushes most devices hard.
If an export fails outright, free up storage first and close every other app. Phones with very little free space often cannot write a large export file.
If you lose a project, check the drafts or projects section in the app before restarting anything, because autosaved drafts usually survive a crash. Save your project explicitly after each major change rather than relying on autosave alone.
And be honest about the limits. A phone handles short-form and social video well. It struggles with a forty-minute edit with multi-track audio and heavy colour work, and heat is the real limit rather than processing power, since phones slow themselves down when they get warm. For anything long, a desktop editor is the better tool.
Frequently Asked Questions
What is the easiest video editing app for beginners?
CapCut and InShot come up most often in beginner conversations, and both are genuinely easy. On iPhone, iMovie already ships with the phone and has no watermark at all. The easiest choice is whichever app you can find the timeline in within five minutes. Pick one, finish three projects, then decide whether to switch.
Can I edit videos on my phone without an internet connection?
Yes, and you should assume you might have to. Importing, trimming, splitting, adding text and exporting all work offline in every major mobile editor. Some apps need a connection the first time you open them to load effects or sign in, and template downloads need data. Once your project is on the device, editing works on a plane.
How do I add captions or subtitles to a video on my phone?
Open your project, tap the Text menu, then look for Auto Captions or Text to Speech. Choose your language, run it, and captions appear on the timeline as text blocks. Tap each block to fix spelling and timing, since automatic captioning often mangles names and brand terms. Style them once at the start and the rest inherit that style.
What should I do if my editing app crashes or my project disappeared?
Check the app’s Drafts or Projects section before anything else, since autosaved projects usually survive a crash. Close the app fully and reopen it, and free up storage if you had very little. If the project is genuinely gone, start from your original footage, which is exactly why you keep an untouched copy. Save manually after each big change rather than trusting autosave.
What resolution and frame rate should I export for short video?
Export 1080p at 30fps in 9:16 for Reels, TikTok and Shorts, and it will look right everywhere. Go to 60fps only for fast motion such as sport or gaming, where smoothness shows. Choose 16:9 at 1080p and 30fps for standard YouTube uploads. Export 4K only if you know your viewer is watching on a large screen.
Conclusion
Do one small project first, not a big one. Import a single clip, trim the dead air off both ends, add one line of text and a music track, preview it, and export at 1080p. That single pass teaches you where the timeline is, how trim handles work and where the export button hides, which is everything that trips up a first-timer.
Once that feels normal, add a second clip, split it, and reorder the pieces. After that comes captions, and after captions comes anything else in these apps. Learning how to edit videos on a phone for beginners is not about finding the cleverest feature, it is about making the eight basic moves automatic.