
To set up Google Analytics on a new site, you create a Google Analytics 4 account, add a property for that website, install the resulting G-XXXXXXXXXX measurement ID on every page, and confirm the tag fires before you launch. The whole process takes about 20 minutes on WordPress, Shopify or hand-coded HTML, and no coding skills if your platform has a built-in analytics setting.
The part that catches new site owners is verification. Installing the tag is easy; proving it actually sends data takes three extra checks. Do those before launch and you will never wonder whether your numbers are real.
Google Analytics 4, usually called GA4, is the current version. It replaced Universal Analytics, which stopped processing data in 2026, so anything you read about UA-only features or the old analytics.js snippet is out of date.
Table of Contents
- What You Need
- Step-by-Step
- Common Mistakes
- Frequently Asked Questions
- Do I need technical skills to set up Google Analytics?
- Can I use Google Analytics on any website platform?
- How long does it take for Google Analytics data to appear?
- Should I install Google Analytics with a WordPress plugin or code?
- How can I check whether the Google Analytics tag is working?
- Should I use the same Google Analytics account for multiple websites?
- Conclusion
What You Need
You need five things in place before you start clicking around. Missing any one of them means you will install the tag, close the tab, and spend an evening wondering why Realtime stays empty.
- A Google account. Any Gmail or Workspace login works. You use it to reach analytics.google.com.
- Admin access to the website. For WordPress that means an administrator account, not an editor account.
- HTTPS switched on. Google Tag Manager refuses to load on an HTTP-only domain. If your site is not on HTTPS yet, do that part first with our How to Add SSL and Switch a Site to HTTPS guide.
- Your exact domain. Know whether you will run www.example.com, example.com, or both, because that choice affects data filters later.
- An install method. Plugin, platform setting, Google Tag Manager, or manual code. Pick one. Installing two tags by accident is the single most common beginner mistake.
Two more things worth deciding now. First, does your site have a staging or preview version? If it does, create a separate property for it so test traffic never mixes with launch traffic. Second, if you run several sites, you can keep them all under one Google Analytics account, so there is no reason to sign up again.
Step-by-Step

Work through these seven steps in order. Each one builds on the last, and you can finish the whole sequence in a single sitting.
1. Create a Google Analytics 4 Property
Open analytics.google.com and sign in with your Google account. In the bottom-left corner, click the Admin cog, then choose Create and pick Account if you have no account yet.
Fill in your account name and your business details: industry, business size, and how you plan to use Analytics. These answers tune GA4’s reports and suggestions, and the business objectives step is where you tell Google whether you want to see traffic, conversions, or both. Press Create.
Google then creates your first property automatically. If this is a brand-new account, you will have exactly one property named something like example.com. That is fine. You can rename it later from Admin, Property settings.
One thing to know: an account is the billing and ownership container, a property is one website or app, and a data stream is one source of data feeding a property. Most beginners only ever touch one of each.
2. Choose the Correct Data Stream
A property needs at least one data stream before it can receive anything. Choose Web for a standard website, and iOS or Android only if you have an app.
For a new site the choice is usually automatic. GA4 creates a Web stream with your domain and a default URL prefix such as https://, pre-filled from the account name.
Check the URL prefix and the measurement ID that appears underneath it. If your site loads on www but the prefix says the bare domain, fix it now, because a mismatch is a leading cause of missing data and of self-referring traffic.
3. Add the Google Analytics Measurement ID
Your measurement ID is the string that begins with G- and ends with eight more characters. It is how GA4 knows which property a hit belongs to.
You will find it on the web data stream page, and again under Admin, Property, Data streams. Copy it now and keep it somewhere handy. Every install method below needs this exact string, typed or pasted without extra spaces.
4. Install Google Analytics on Your Website
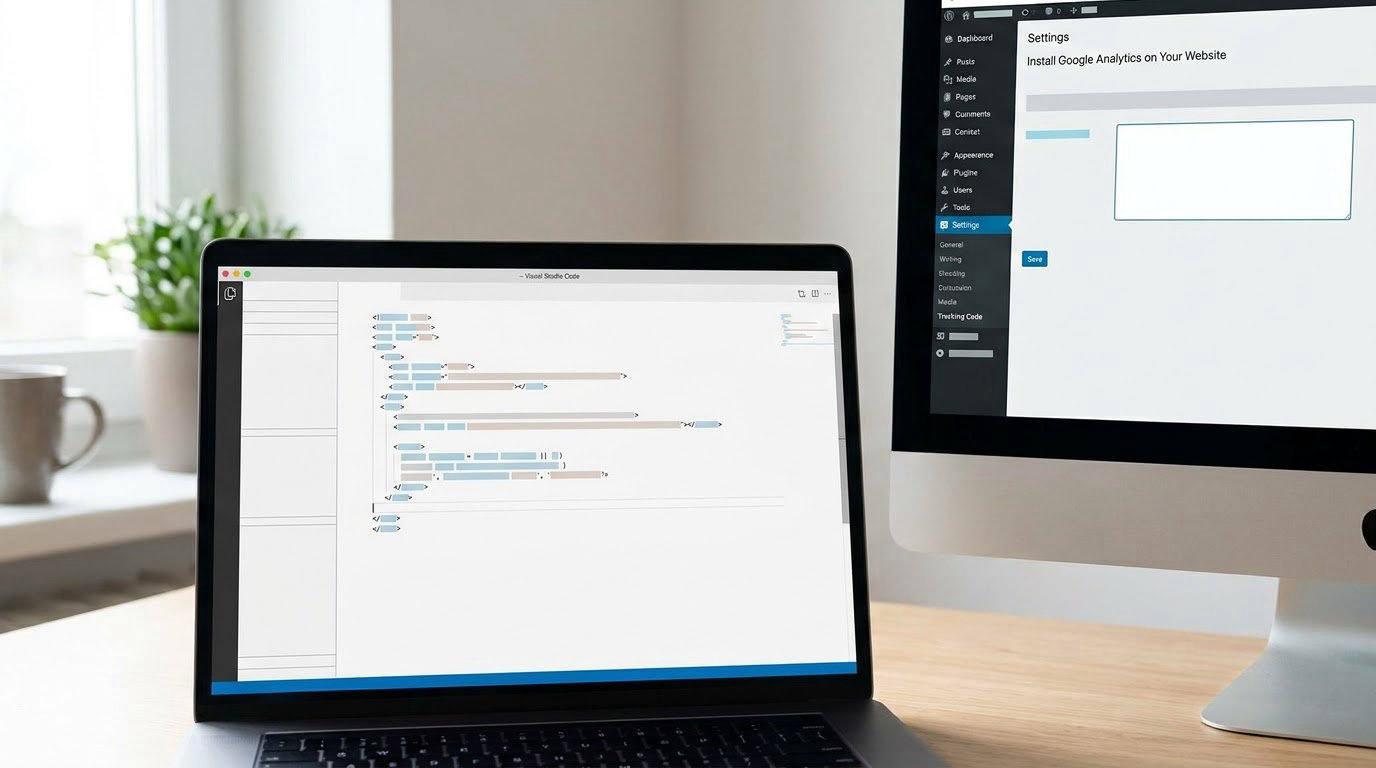
This is where to install Google Analytics depends entirely on what your site is built with. Pick the line that matches your setup and follow that one only.
WordPress
Easiest route is a plugin. Install a GA4 plugin from Plugins, Add New, paste your measurement ID into its setup field, activate, and run its tracking test. The plugin writes the snippet into your theme footer for you.
If you would rather not add a plugin, you can paste the gtag.js code yourself in Appearance, Theme Editor, footer.php, just above the closing body tag. This works but breaks silently when your theme is updated, which is the reason experienced WordPress users prefer the plugin route.
Shopify
Go to Settings, Customer analytics in your Shopify admin. Paste the measurement ID into the Google Analytics field, save, and Shopify handles the rest. There is no code to touch and no Google Tag Manager needed for basic tracking.
Wix and Squarespace
Both platforms connect to GA4 from their dashboard without a code snippet. In Wix, open your site settings and go to Analytics, Google Analytics, then paste the measurement ID. In Squarespace, open Settings, Analytics, then paste it into the external services section.
Webflow
Open Project Settings, Sites and domains, then Analytics. Paste the measurement ID, set the environment to production, and publish your site. Until you publish, the tag is not live.
Google Sites
Open your site, click the Settings icon beside the Publish button, then Analytics in the left navigation. Paste the measurement ID and publish. New Google Sites connect directly, which makes this the quickest platform of all.
Static or hand-coded HTML
Paste the Google tag snippet into the head of every page, as high as you can. For a hand-coded site that means your index.html and every template you generate pages from.
For anything that will grow, use Google Tag Manager instead. You add one container snippet to each page, then manage GA4, pixels and tags inside the GTM interface without touching your code again. The trade-off is one more layer between you and the data, so beginners on a simple site often do fine with the direct snippet.
5. Configure the Tag and Tracking Settings
The default configuration works for most new sites, so resist the urge to customise on day one. Just confirm a few settings under Admin, Data streams and then your web stream settings.
Look at Enhanced measurement. It is on by default and tracks page views, scrolls, outbound clicks, site search, file downloads and form interactions without any extra code. Leave it running.
Set your reporting time zone to match where your business is, not where your server sits. That choice is permanent-ish, changing it later makes historical reports read oddly, and it matters for daily reports the moment your traffic leaves one continent.
6. Verify That Google Analytics Is Working
Do not skip this. A tag can be present in your page source and still fail to send data, and the only way to know is to watch a hit arrive.
- Send yourself a visit. Open your live site in a private window and click through a few pages.
- Open Realtime. In GA4, click Reports, then Realtime. Your visit should appear within about 30 seconds. If it does, tracking works.
- Open DebugView. Click Admin, DebugView while you reload the site. DebugView shows individual hits with no data filters applied, so it proves the tag fires even when a filter is hiding your visits.
- Check the tag with Tag Assistant. The free Chrome extension connects to GA4 and shows every tag, its status, and any error message on the page.
Two things commonly hide a valid visit from Realtime. Ad blockers and privacy extensions such as uBlock Origin, Ghostery and Brave Shields block the request with no error shown to you, so test in a browser where they are off. Second, if you set up a developer-traffic filter earlier, your own IP is intentionally excluded and it looks like a failure when it is not.
7. Set Up Essential Reports and Key Events
Reports fill in over time, so bookmark four of them now. Realtime for live checks, Home for the overview, Traffic acquisition for where visitors came from, and Engagement or Pages and screens for what they did.
Then define your key events. GA4 calls conversions key events, and a new site usually has a handful worth counting: form submissions, phone number clicks, newsletter sign-ups and purchases. Mark them under Admin, Events, then click a custom event and promote it to a key event.
Do not promote everything. A key event you never plan to act on just makes the numbers noisier. Start with the two or three that map to real business goals.
Common Mistakes
Almost every GA4 failure on a new site is silent. The tag looks installed in your page source, the plugin is active, and the reports stay empty. Here is what actually causes it, symptom by symptom.
- Realtime is empty but the tag is visible in page source. Usually an ad blocker or privacy extension is eating the request. Test in a clean browser window with blocking off, then confirm in DebugView.
- The tag is missing from pages other than the homepage. The snippet was pasted outside the theme footer. Reinstall through a plugin or platform setting rather than a one-off code edit.
- The tag vanished after a theme or layout update. A hand-edited theme file was overwritten. Use a plugin or a child theme so updates cannot delete the snippet.
- The tag is installed but nothing arrives. Wrong measurement ID, or a property with no matching data stream. Compare the installed ID character by character with the data stream page.
- The tag was silently removed by caching. An aggressive cache or optimisation plugin is serving pages built before the tag existed. Exclude the tag from caching, purge the cache, retest.
- The site is not loading the tag at all. The site is still on HTTP. Install SSL and switch to HTTPS, then retest.
- Your own visits are missing from Realtime. An internal or developer traffic filter is active by design. Check Admin, Data filters, then confirm in DebugView, which ignores filters.
- Two properties show the same traffic. The tag is installed twice, plugin plus manual code. Remove one install method, clear caches, retest Realtime.
- Session source shows as not set. Traffic arrived without campaign or referrer information. That is expected for some direct and dark-traffic visits, so ignore it.
- Counts are lower than your host or WordPress stats. Different definitions, plus blockers and consent opt-outs. Treat GA4 as the source of truth for GA4, not as a match for another tool.
Two more worth planning around. Add a separate property for your staging domain, or use a data filter to keep test traffic out of launch numbers. And if you run a site in the EU, install your consent banner before the tag, because consent mode changes whether analytics and advertising storage are permitted at all, which is why data can be thin even when the tag is live.
Frequently Asked Questions
Do I need technical skills to set up Google Analytics?
No. On Shopify, Wix, Squarespace, Webflow, Google Sites and WordPress with a plugin, setup is copy and paste. You only touch code for a static HTML site, or if you choose Google Tag Manager. Even then, the snippet Google gives you is a single block to paste into one file or one container.
Can I use Google Analytics on any website platform?
Almost any site, yes. GA4 measures traffic with a small JavaScript tag on your pages, so it works on WordPress, Shopify, Wix, Squarespace, Webflow, Google Sites, Ghost and hand-coded HTML. Platforms that block scripts or require a connector, including email campaigns and some native apps, need a different route.
How long does it take for Google Analytics data to appear?
Realtime data usually shows within about 30 seconds of a visit, so you can verify tracking the same minute you install it. Standard reports take 24 to 48 hours to fill properly, because GA4 processes and models incoming data before it lands in your reports. Give it two full days before judging your reports.
Should I install Google Analytics with a WordPress plugin or code?
Use a plugin if you can. It inserts the tag in the right place, survives theme updates and is removed cleanly if you ever change setup. Hand-pasting the snippet into footer.php works today and disappears the next time the theme updates, which is the most common reason tracking stops months later.
How can I check whether the Google Analytics tag is working?
Visit your live site, then open Reports, Realtime in GA4 and look for your visit. If nothing appears, open Admin, DebugView and reload the page to see whether a hit is arriving at all. The Tag Assistant Chrome extension gives the same answer with a clear error message when something is blocked.
Should I use the same Google Analytics account for multiple websites?
Yes, and most people should. One account can hold up to 2,000 properties, one per site, and agencies and freelancers routinely run dozens this way. A single account means one login, one billing history and easy switching between client sites. Create a separate property for each domain, and each one gets its own measurement ID.
Conclusion
Setting up Google Analytics on a new site comes down to three things. Install the measurement ID through one method only, send a real visit and watch it land in Realtime, then give the standard reports 24 to 48 hours before drawing conclusions.
Bookmark Realtime and DebugView on day one, since they are how you tell a real tracking problem from a normal empty report. Once those are green, mark your first two or three key events and the setup is genuinely finished.