
To add SSL and switch a site to HTTPS, you get a certificate for your domain, install it on your web server, then redirect every HTTP request to the same URL over HTTPS. On shared hosting with an automatic SSL option, the whole job takes about 30 minutes and most readers never touch a config file. The three parts are always the same: obtain the certificate, force HTTPS, then clean up what still points at http://.
This guide covers both crowds. If your host has a one-click SSL button, use it and skip to the redirect section. If you run your own VPS or a Docker stack, the same steps apply with different menu labels, and I have put the exact commands further down.
Table of Contents
- What You Need
- How to Add SSL and Switch a Site to HTTPS Step by Step
- Common Mistakes
- Frequently Asked Questions
- Does adding SSL and switching to HTTPS improve my search rankings?
- Will switching from HTTP to HTTPS break existing website links or bookmarks?
- What happens when the SSL certificate expires, and does renewal happen automatically?
- Why does WordPress say my site is not safe even after SSL is installed?
- Do visitors need to install a certificate or take action after my site switches to HTTPS?
- Should I choose a paid SSL certificate instead of a free one?
- Conclusion
What You Need

You need four things: access to your hosting account, access to your domain registrar or DNS records, administrator rights on the website itself, and a recent full backup. The email address on the account matters too, because certificate authorities send validation and expiry notices there.
On the certificate side, you have three options. Most managed hosts issue one automatically, Cloudflare issues one at the edge for every site on its network, or you obtain one yourself from a certificate authority. A free Let’s Encrypt certificate is browser-trusted and is the right choice for nearly every site.
Two more things worth having before you start: a staging copy if your host offers one, and a low-traffic window. Neither is mandatory, but a broken redirect at your busiest hour is a bad way to learn.
How to Add SSL and Switch a Site to HTTPS Step by Step
Back Up the Site and Confirm Domain Control
Take a full backup first, and confirm that you could restore it without help. On WordPress that means both a file backup and a database export, since the redirect rules and search-replace changes live in one or the other.
Then check that your domain actually points at the server you are about to change. Look up your domain and confirm the A record resolves to the IP address your host shows in its dashboard. If it doesn’t, you will install a certificate for a domain nobody visits.
Next decide on your domain variants. Most sites serve example.com, www.example.com and sometimes a staging subdomain. Decide which one is canonical and make sure the certificate covers both the bare domain and the www version, or visitors who land on the wrong variant will see a full-page warning.
How to tell it worked: the backup file is on your machine or in your host’s storage, and a DNS lookup returns the IP your host displayed. If either is uncertain, stop and sort that out first.
Choose How to Add SSL to Your Site
Most site owners should use whatever their host or CDN offers automatically. It renews itself, it costs nothing, and it is the lowest-risk path. Everything below applies mainly if your host does not offer it or you manage the server yourself.
These are the routes you will actually see in a control panel:
- Host-managed automatic SSL — cPanel’s SSL/TLS Status screen has a Run AutoSSL button that issues a Let’s Encrypt certificate and sets up renewal. Most managed hosts (WP Engine, Kinsta, Cloudways and similar) expose the same thing under Security, SSL, or Site SSL.
- Cloudflare Universal SSL — with an orange-cloud proxy on, Cloudflare terminates HTTPS at its edge and the origin connection is managed for you. Set SSL/TLS encryption mode to Full (strict) once your origin has a valid certificate too.
- Let’s Encrypt with Certbot — the standard command-line path on a VPS you control.
- A purchased certificate — issued by a commercial CA after you submit a CSR. Worth it for Extended Validation, very high insurance limits, or a few dozen subdomains on one certificate.
# Apache on Ubuntu or Debian
sudo apt install certbot python3-certbot-apache
sudo certbot --apache -d example.com -d www.example.com

# Nginx
sudo apt install certbot python3-certbot-nginx
sudo certbot --nginx -d example.com -d www.example.com
A manually purchased certificate is appropriate when a client asks for an OV or EV certificate by name, or when you need a wildcard covering every subdomain. Otherwise it buys you paperwork, not security.
Self-signed certificates are for testing on localhost or an internal network only. Browsers treat them as untrusted, so every visitor gets a warning. Never ship one on a public site.
Install and Enable the SSL Certificate
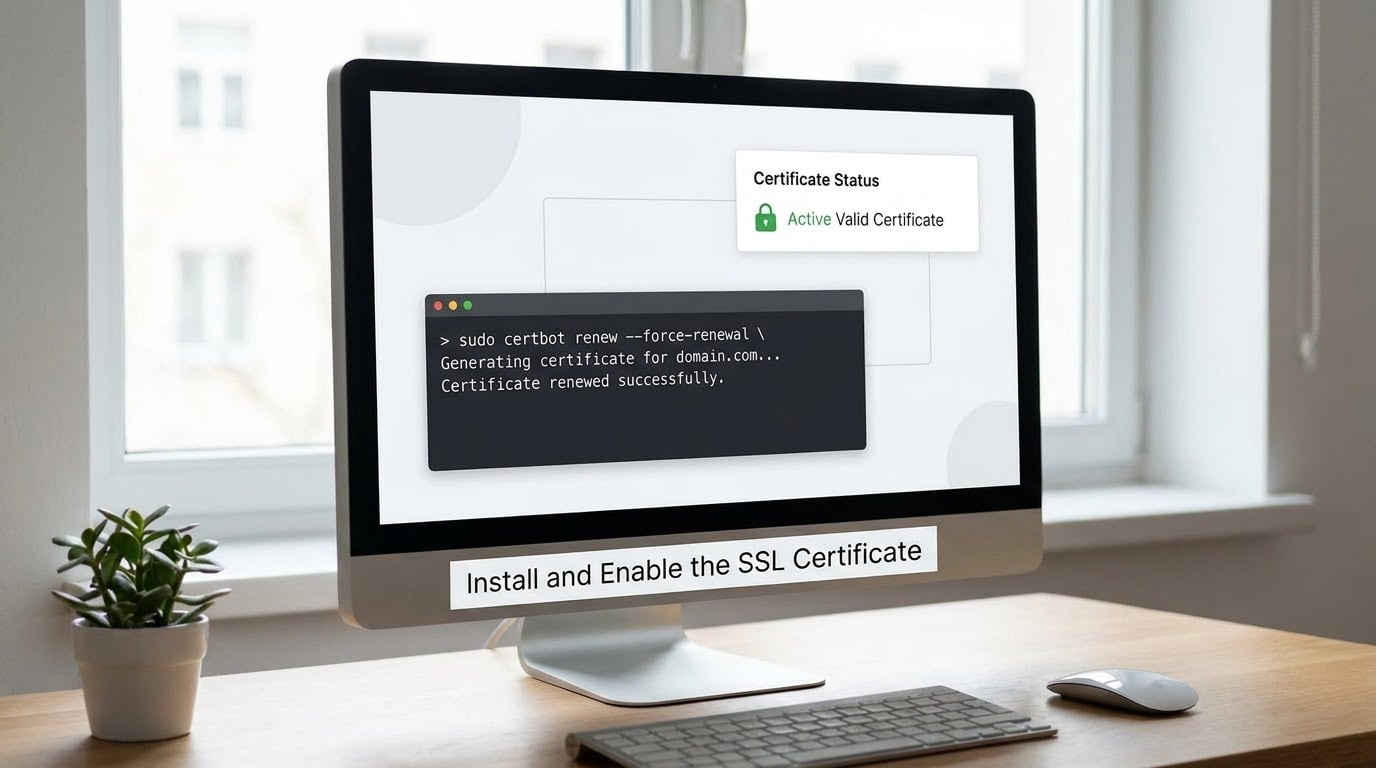
Installation depends on your web server, and each control panel labels it differently. In cPanel, open SSL/TLS Status, choose Run AutoSSL, and select both domain variants. In other panels look for Security, SSL Certificates, or HTTPS under the domain’s settings. On Cloudflare, nothing is installed on your server if you stay on the orange cloud; the certificate is issued at the edge.
On Apache, the certificate needs a VirtualHost on port 443 that points at your certificate and private key files:
<VirtualHost *:443>
  ServerName example.com
  DocumentRoot /var/www/example/public_html

  SSLEngine on
  SSLCertificateFile /etc/letsencrypt/live/example.com/fullchain.pem
  SSLCertificateKeyFile /etc/letsencrypt/live/example.com/privkey.pem
</VirtualHost>
On Nginx, the same thing goes in a server block, and you always test the configuration before restarting:
server {
    listen 443 ssl;
    server_name example.com;

    ssl_certificate     /etc/letsencrypt/live/example.com/fullchain.pem;
    ssl_certificate_key /etc/letsencrypt/live/example.com/privkey.pem;
    ssl_protocols       TLSv1.2 TLSv1.3;
}
sudo nginx -t
sudo systemctl reload nginxUse the fullchain file, not just the certificate file. Missing intermediates are one of the most common reasons a certificate works in your curl test but fails in a browser.
How to tell it worked: visit https://example.com directly and confirm the padlock appears with no warning. Then check that it covers both variants — run curl -Iv https://www.example.com and confirm the certificate names include the bare domain. If you type https:// and land on http://, that is not an install failure, it is the next step.
Redirect HTTP Traffic to HTTPS
Redirect HTTP to HTTPS with a 301 permanent redirect so search engines and visitors stop using the insecure URLs. There are three sane places to put it, and you need only one of them.
On managed hosting, the simplest option is the Force HTTPS or Redirect to HTTPS toggle in the host dashboard or in cPanel’s Domains section. That is one checkbox and it rewrites port 80 at the server level, which is the cleanest place for the rule to live.
On Apache, add this above any existing rewrite rules in .htaccess:
RewriteEngine On
RewriteCond %{HTTPS} off
RewriteRule ^(.*)$ https://%{HTTP_HOST}%{REQUEST_URI} [L,R=301]
On Nginx, keep the port 80 block as a redirect only:
server {
    listen 80;
    server_name example.com;
    return 301 https://$host$request_uri;
}
The single most common way to break a site here is running two redirects at once — a host-level toggle plus a WordPress plugin that does the same job. They fight each other and you get ERR_TOO_MANY_REDIRECTS. Pick the server-level rule and remove the plugin.
curl -I http://example.com
# HTTP/1.1 301 Moved Permanently
# Location: https://example.com/
How to tell it worked: the curl command returns one 301 and one Location header. Two or more redirects before the HTTPS response means a loop, and you have more than one redirect rule active.
Update WordPress Site and Plugin URLs
WordPress still stores your own domain as an http:// URL after the switch, which breaks the admin, AJAX requests and some plugins. Open Settings, then General, and change both the WordPress Address (URL) and the Site Address (URL) to https://.
Both fields should match. Setting the WordPress Address alone, to a different domain, is the classic cause of a redirect loop on a WordPress site with a plugin that also redirects.
Next run a search and replace across the database so old http:// links inside posts, media and menus become https://. Plugins such as Better Search Replace or Velvet Blues Update URLs do this, and the safer ones show a dry run with the number of matches per table before you commit. Preview first, back up first, and never run a blanket replace on a table you don’t understand.
For hardcoded links in custom themes or child themes, search the theme folder for http:// and update the ones pointing at your own domain. Leave external links to other sites alone.
How to tell it worked: log out and back in to wp-admin. If you land on the login screen again after entering valid credentials, a redirect rule is conflicting with WordPress — usually both a plugin and the server are redirecting.
Fix Mixed Content and Test the HTTPS Site
Mixed content is an HTTPS page that still loads images, CSS, JavaScript or fonts over http://. Your browser shows a padlock with a warning triangle, and the console lists the offending URLs. Open the browser developer console, switch to the Console tab, reload the page, and read the blocked resources.
Fixes, in order of how often they are needed:
- Images in posts and media library — update the attachment URLs in the database with a search-and-replace plugin.
- Stylesheets and scripts enqueued by a theme or plugin — change the
http://prefix tohttps://in the enqueue call, or to protocol-relative//if the plugin builds URLs dynamically. - Fonts and external CDNs — check the CDN’s own settings first; some have a single “HTTPS” switch.
- Iframes and embeds — re-paste the embed code from the provider, because older embed snippets are hardcoded to http://.
Do not add a plugin that “fixes mixed content” by rewriting the page in the browser. It hides the problem from crawlers and from visitors on other devices. Fix the source.
Then test properly. Submit the domain to Qualys SSL Labs for an A or better grade, click through every form and login, check the checkout flow on a real order, and load the site on a phone. Test in a private window so you are not seeing a cached HTTPS page from before the switch.
Finally, point search engines at the new URLs. Submit the sitemap in Google Search Console and Bing Webmaster Tools, update the property URL in both, and update your Google Analytics default URL scheme from http to https. Within a few weeks the data should realign on its own.
Common Mistakes
My site is still on http://. The certificate is installed and you type the domain with no protocol, so the browser sends a plain request. Either add a redirect, or enable HSTS so browsers upgrade the request themselves. Clear your browser cache and any CDN cache, because a cached 301 from before the switch keeps serving the old path.
Redirect loop or ERR_TOO_MANY_REDIRECTS. Two redirect rules are active. Disable the WordPress plugin or the host toggle, keep one server-level 301, and clear both caches. Behind a reverse proxy, also make sure the application knows the original request was HTTPS, usually via an X-Forwarded-Proto: https header, or it will believe every request is insecure and redirect it back.
Certificate does not cover the domain I visited. The most common version: the certificate has example.com but not www.example.com, or vice versa. Reissue it with both names listed. On Cloudflare, check whether the domain is on the orange cloud, and on a self-hosted server check SNI is enabled on port 443.
Certificate expired and the site shows a full-page warning. Renew it immediately with sudo certbot renew --force-renewal, then confirm the renewal timer actually runs. Certbot installs a systemd timer or cron job that renews roughly 30 days before a 90-day certificate expires; if you copied certificate files manually, nothing renews them and the site will break again. Set an alert on the expiry date regardless.
WordPress admin redirects in a loop. Behind Cloudflare or a reverse proxy, WordPress may not detect the secure connection. Add the forwarded protocol header to the server block, or define $_SERVER['HTTPS'] behind a trusted proxy. In the database, make sure the site URL and home URL both read https:// and both name the same domain.
Mixed content persists after a search and replace. The remaining http:// URLs are usually in a theme file, a custom CSS block or an iframe from an external provider. Crawl the site with a tool such as Screaming Frog, filter for insecure URLs, and fix the source files rather than masking it in the browser.
Integrations broke after the switch. Facebook login, YouTube channel linking, Mailchimp, ad platforms, CRMs and webhooks all store an old callback URL somewhere. Update each one to the HTTPS URL. These break silently — nobody sees an error until a lead stops arriving, so check them the same week.
HSTS enabled too early. The Strict-Transport-Security header tells browsers to refuse plain HTTP for months. If you add it before everything works, a visitor on a cached page cannot reach your site even after you fix the underlying problem. Add it last, start with a short max-age, and raise it once the site has been stable for a while. Loading it into the browser preload list is close to irreversible, so treat that as a one-way door.
Nothing works and you need to back out. Roll back in reverse order: remove the HSTS header first, then the redirect, then revert the database search and replace, then restore the backup if you changed the WordPress URLs. Because HSTS persists in the visitor’s browser, rollback is why it goes last in, first out.
Maintenance after the switch is small but not optional. Confirm auto-renewal is active, watch the expiry date, re-run the SSL Labs check quarterly, and add the new HTTPS property to Search Console so you keep monitoring after the old one retires.
Frequently Asked Questions
Does adding SSL and switching to HTTPS improve my search rankings?
HTTPS is a confirmed but minor positive ranking signal for Google. It is not a shortcut to page one, and no amount of encryption compensates for thin content. The stronger argument is data loss: an HTTP site strips referral information when it links to another HTTPS site, so your analytics quietly lose traffic source detail.
Will switching from HTTP to HTTPS break existing website links or bookmarks?
Not if you add a 301 redirect from http to https, because the redirect catches every old link automatically. Bookmarks keep working too. What does break is any internal link stored as a hardcoded http:// address, because it forces an extra redirect hop on every click. Search and replace those in your database, theme files and navigation menus before you consider the migration finished.
What happens when the SSL certificate expires, and does renewal happen automatically?
An expired certificate makes browsers show a full-page warning instead of your site, which reads as a serious security problem and costs you traffic and sales. Renewal is automatic only if something is renewing it: cPanel AutoSSL, Cloudflare, or the Certbot timer installed by most installers. If you copied files onto a server by hand, nothing renews them. Check the expiry date and set yourself an alert about 30 days out.
Why does WordPress say my site is not safe even after SSL is installed?
WordPress is warning about mixed content: the page loads over HTTPS but something inside it, such as an image, script or font, still points at http://. Open the browser console, reload, and read the blocked URLs listed there. Fix the source file rather than installing a plugin that rewrites URLs at display time, which only hides the warning from crawlers and other devices.
Do visitors need to install a certificate or take action after my site switches to HTTPS?
No. The certificate lives on your server, and the browser validates it silently on every visit, so visitors see a padlock instead of a Not secure label. The one exception is premature HSTS, where cached pages refuse to fall back to http even after you fix the problem. Add that header last, not first.
Should I choose a paid SSL certificate instead of a free one?
For a blog, portfolio or small store, no. A free Let’s Encrypt certificate is trusted by every major browser, offers the same encryption strength as paid certificates, and renews automatically. Paid certificates add Extended Validation, higher insurance limits, and coverage for many subdomains on one certificate.
Conclusion
Start with the two safe moves: a full backup you have tested, and a DNS check confirming your domain points at the host you are about to change. Then use the fastest reliable route to a certificate, which for most people is the automatic SSL option already sitting in their hosting dashboard.
After the switch is live, verify three things before you announce it: an http:// URL returns a single 301 to https, no browser warning appears on the homepage, and the console is free of mixed content. That is the whole job. Everything else — HSTS, a paid certificate, a wildcard for subdomains — can wait until 2026 and beyond, if you ever need it.
1 thought on “How to Add SSL and Switch a Site to HTTPS (October 2026)”