Most WordPress compromises come down to three things: outdated software, weak or reused passwords, and code from a plugin nobody vetted. Lock down those three and you remove the paths almost every real attack uses. This guide walks through how to secure a WordPress site from hackers in seven steps, and each step tells you how to confirm it worked.
Before you touch anything, accept one framing that saves a lot of panic later: security is risk reduction, not elimination. Nobody ends up with an unhackable WordPress install. What you can reach is a site where a stolen password, an old plugin and a brute-force attempt each fail on their own.
Budget about an afternoon the first time, then twenty minutes a week after that. If you have an ecommerce store or hold customer data, add a monthly restore test to that rhythm.
Table of Contents
- What You Need
- Step-by-Step
- 1. Back Up the Site Before Changing Anything
- 2. Update WordPress, Themes, and Plugins
- 3. Use Strong Passwords and Multi-Factor Authentication
- 4. Limit Login Attempts and Protect wp-admin
- 5. Use a Firewall and Secure the Hosting Account
- 6. Keep HTTPS, Cookies, and Site Settings Safe
- 7. Monitor the Site and Prepare for Recovery
- What each attack type meets on the way in
- Common Mistakes
- Frequently Asked Questions
- Is free WordPress security enough for a small business site?
- How often should I back up my WordPress site?
- What should I do if I think my WordPress site has been hacked?
- Does SSL keep my WordPress site from being hacked?
- How can I tell whether a WordPress plugin is safe to install?
- Do I need to hire someone to secure my WordPress site?
- What to Do First If Your Site Is Already Compromised
What You Need
You can do every step in this guide from the dashboard and your hosting panel, but a few things make the work much less painful. Gather them before you start.
- Administrator access to WordPress, plus hosting panel and domain registrar logins. You will need the hosting login to reach file permissions and backups.
- A fresh, tested backup stored somewhere outside your hosting account, such as cloud storage or a local drive. Not a backup sitting in the same server it is protecting.
- Current versions of WordPress core, your theme and every active plugin. Updating works better before you start editing security settings.
- A working HTTPS connection on the site, so passwords and form data are not sent in clear text.
- File access through SFTP or SSH, not plain FTP, if your host offers it. Plain FTP sends credentials in the clear.
- A password manager, so you can give every account a unique password you actually remember.
- A phone for an authenticator app, which is the strongest practical upgrade in this whole guide.
None of this needs special hardware. If you can log in and open a browser, you can do the whole sequence.
Step-by-Step
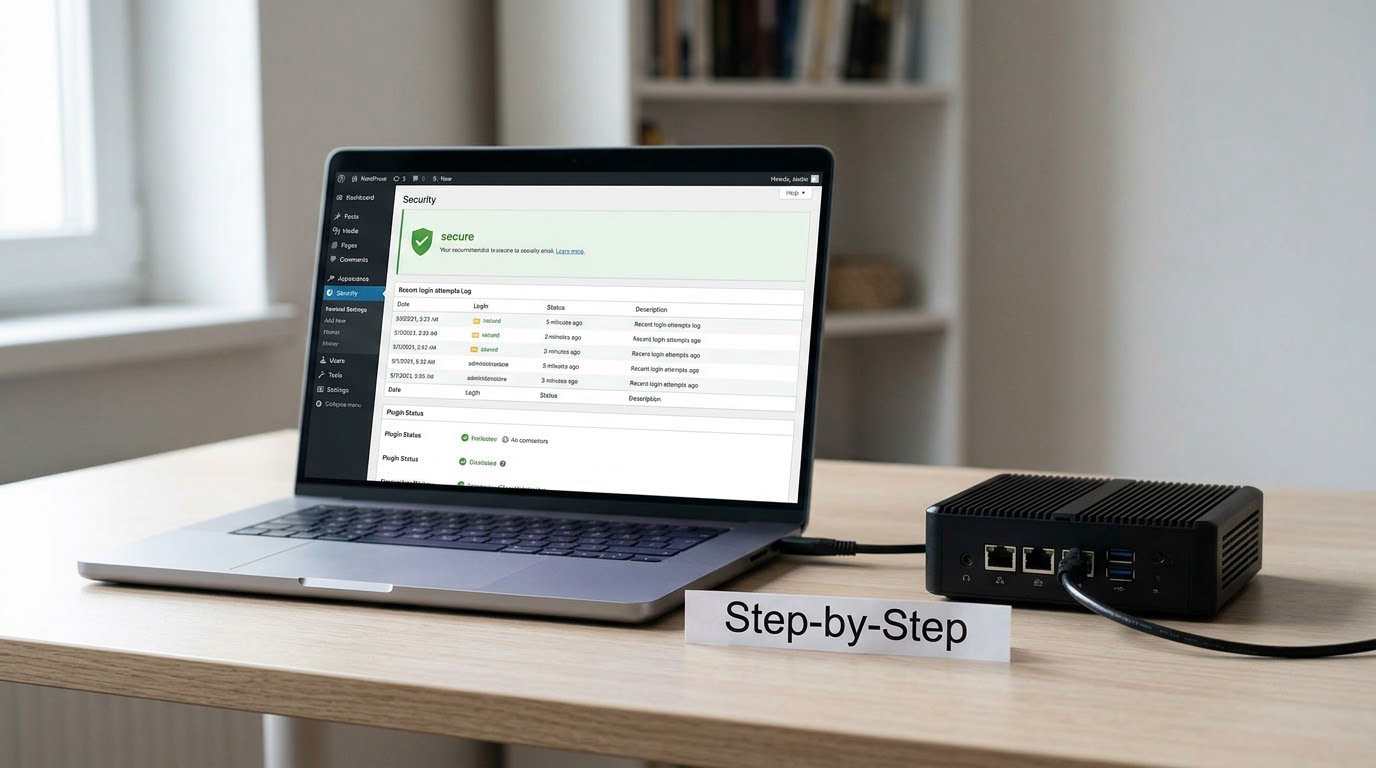
Work through these in order. The order matters: a backup first, because every later step can break something, and a scan for compromise before you harden, so you know whether you are securing a clean site or dressing up a dirty one.
1. Back Up the Site Before Changing Anything
A WordPress backup is two things: every file in your web directory and the database that holds your posts, users and settings. A files-only backup leaves you with a broken site, because without the database there is no content.
Your host almost certainly offers a one-click backup in its control panel, and that is the fastest route. For scheduled copies, plugins such as UpdraftPlus or BackWPup can send archives to cloud storage on a schedule. Where the copy lands matters more than which tool made it.
Verify it this way: download the archive, open it, and confirm you can see your wp-content folder and an export of the database. If you have never restored one, do a test restore on a staging subdomain or a local copy. An untested backup is a hope, not a plan.
The consensus on r/Wordpress is blunt about this one: the people who recover cleanly are the ones who already knew their backup worked.
2. Update WordPress, Themes, and Plugins
The large majority of known WordPress exploits target a version that already has a fix published. Running outdated software is the single most common avoidable cause of a compromised site, and it is also the cheapest to fix.
Go to Dashboard → Updates. WordPress shows core, theme and plugin updates in one list. Check Auto-update for core and for the plugins you trust, then run the manual ones.
Then delete what you do not use. Inactive plugins still sit on disk with known vulnerabilities, and unused themes do the same. Under Plugins → Installed Plugins and Appearance → Themes, remove anything unused. If you want the functionality later, reinstall it fresh from the WordPress.org directory rather than reviving an old copy.
Verify it: load the front end of your site, open the dashboard, and click through a post edit screen. If anything breaks after an update, roll that one item back from the Updates screen rather than debugging live.
3. Use Strong Passwords and Multi-Factor Authentication
Create a unique administrator account that is not named admin, and give it a password of sixteen characters or more from your password manager. Reusing one password across sites is how a breach somewhere else ends up in your dashboard.
Then turn on two-factor authentication (2FA). Most people skip it because it feels like friction, but it is the single change that stops most automated login attacks. Use an authenticator app such as 1Password, Authy or Google Authenticator, or a hardware security key if you have several sites to protect. SMS codes are better than nothing and worse than an app.
Apply least privilege to the rest of your team. Editors should be Editors, not Administrators. Under Users → All Users, drop everyone to the lowest role their job needs, and delete accounts belonging to people who have left. This is the step agencies running many client sites tend to skip, and it is where shared passwords cause real damage.
Suspect a compromise already? Change the admin password, revoke sessions so existing login tokens die, then check Users → All Users for administrator accounts you do not recognise. Delete them immediately and check Settings → General for an unfamiliar site address or admin email.
4. Limit Login Attempts and Protect wp-admin
Turn off user registration unless you genuinely need it. Under Settings → General, untick membership registration, and set a default role of Subscriber for anyone who signs up.
Then install one security plugin and use its login protection: failed-attempt lockout, two-factor enforcement, and alerts when a new admin is created. Limit Login Attempts Reloaded and Wordfence both handle the first two well.
Blocking XML-RPC is worth doing if you do not use Jetpack or the WordPress mobile app. It removes a protocol endpoint that is heavily scanned because it allows password testing in bulk. A security plugin can disable it in a click, and you can verify by requesting xmlrpc.php in your browser: you should see an error, not a working response.
Verify login protection by opening an incognito window and deliberately failing the password a few times. The plugin should lock you out or challenge you with a secondary check.
One honest note, because experienced users raise this constantly: changing your wp-login.php URL is security theatre on its own. It cuts log noise, nothing more. Once 2FA and login limits are running, it adds close to nothing, and it creates a support headache when someone cannot find the login page.
5. Use a Firewall and Secure the Hosting Account
A web application firewall (WAF) sits between visitors and your server and inspects requests before PHP ever runs. It catches a large share of injection and bot traffic that your WordPress install would otherwise handle.
You have three layers available, and you can use more than one. A free plan from a CDN such as Cloudflare gives you a network-level firewall and DDoS protection. A WordPress security plugin gives you an application-level firewall plus malware scanning. Your host may include a host-level firewall too, and it is worth turning on.
For malware scanning and file integrity monitoring specifically, Wordfence and Solid Security (formerly iThemes Security) are the two most widely used options. All-In-One WP Security and Firewall bundles more features into one plugin for sites run by one person. Run one security plugin, not four: they overlap, they slow the dashboard down, and overlapping rules sometimes block each other.
On the hosting side, use SFTP or SSH rather than plain FTP. Keep file permissions at 755 for directories and 644 for files, and 600 for wp-config.php if your server allows it. In FileZilla, right-click a folder, choose Get Info, then set the numeric permissions field.
To check for unexpected files without installing obscure software: connect over SFTP, sort wp-content/uploads by date, and look for anything ending in .php that you did not upload. Those are the classic webshell hiding places. On shared hosting, be aware that a compromised neighbour site can affect yours at the server level, which is one reason people move off shared plans as their sites grow.
6. Keep HTTPS, Cookies, and Site Settings Safe
Confirm SSL is active on the domain, on www, and on the WordPress admin, then set the site address in Settings → General to https. In Settings → Permalinks, save once without changing anything; that flushes the rewrite rules so everything redirects properly. If your certificate is still missing, walk through how to add SSL and switch a site to HTTPS first, since every later check depends on it.
Ask your host to force HTTPS redirects at the server level so no URL can be served over plain http. Then check the Security tab under Settings for guidance on mixed content.
HTTPS encrypts traffic in transit. It does not stop SQL injection, it does not stop a stolen password, and it does not stop malware. It belongs in your routine because traffic in the clear is easy to read, not because it hardens the site on its own.
Verify it: open your site in a private window and confirm the padlock appears, and check your host panel for a mixed-content or SSL error report. If your host offers a free Let’s Encrypt certificate and renewal, turn that on so it never silently expires.
7. Monitor the Site and Prepare for Recovery
Security you never look at is just a setting. Log in weekly and glance at your plugin’s activity log: new administrator accounts, plugin installs, theme switches and file modifications are the four events worth noticing.
Set alerts instead. Security plugins can email you when a login is blocked, when an administrator account is created, and when a file changes outside your normal editing. Confirm those alerts actually arrive by triggering one deliberately. An alert address nobody checks is not monitoring, and the address itself deserves the same password and 2FA treatment as your admin login. The same goes for the list you send from: if you have never set one up, how to build an email list from a small blog covers the sending side, while the account behind it needs two-factor protection like everything else here.
Then make sure recovery works. Once a quarter, restore your most recent backup somewhere isolated and confirm the site comes up. Write down where the backup lives, who has hosting access, and who to contact at your host. When a site is down at midnight, that document is worth more than any plugin.
If you want a second pair of eyes, free scanners such as WPScan and Sucuri SiteCheck will report known malware signatures and outdated software in a couple of minutes. They catch the obvious cases, not the clever ones.
What each attack type meets on the way in
- Brute force — automated password guessing against wp-login.php. Login attempt limits plus 2FA stop it.
- Credential stuffing — passwords leaked from another site, replayed here. Unique passwords and 2FA stop it.
- Exploit of a known bug — requests aimed at an unpatched plugin or theme. Updates and a firewall stop it.
- Nulled plugin — malicious code shipped inside a free copy of a paid plugin. Installing only from the WordPress.org directory stops it.
- Password reset hijack — your domain’s email account taken over, resets sent from it. 2FA on the email account and strong SMTP authentication stop it.
- Server-level compromise — a shared-hosting neighbour or an exposed control panel. An updated host, SFTP and a good firewall make it far less likely.
Common Mistakes
Almost every site I have cleaned up had at least one of these on it. Each one has a straightforward correction.
Still using admin as the username. It was the default forever, so bots assume it exists. Create a new administrator account with a different name, give it your email, then delete the old one.
Running twenty plugins because they are free. Every plugin is code someone else maintains, and abandoned ones carry unpatched bugs. Most sites run fine on a dozen well-kept plugins. If you cannot name what a plugin does, uninstall it.
Treating updates as optional. Update prompts usually mean a fix is available for something that already exists in the wild. Enable automatic updates for core and trusted plugins.
Keeping backups on the same server. If the account is compromised or the host has an incident, the backup goes with it. Store copies off-site and keep at least one you never overwrite.
Disabling security features to make something work. If a plugin breaks the login page and the fix is to switch off 2FA or the firewall, you have traded a real problem for a bigger one. Fix the conflict instead.
Believing a plugin scan means you are clean. Scanners match known signatures and known vulnerabilities. A crypto miner in a custom file or a deliberate backdoor in a premium plugin can sit under a green scan. When something looks wrong, compare the core files against a fresh download.
Chasing security theatre. Changing the table prefix, deleting the generator tag and hiding the login URL all get recommended constantly. They raise the effort slightly and stop nothing on their own. If your time is limited, spend it on updates, 2FA, login limits, a firewall and backups, in that order.
Then set a rhythm. Update weekly and skim the activity log. Back up automatically to off-site storage. Restore-test quarterly. Review user roles whenever someone joins or leaves.
That cadence is what actually keeps a site safe, far more than any single setting.
Frequently Asked Questions
Is free WordPress security enough for a small business site?
Yes, for most sites. Updates, strong unique passwords, two-factor authentication, login attempt limits, HTTPS and off-site backups all have free implementations, and a free network firewall plus a free application firewall covers most small sites well. Paid tools add convenience rather than protection: scheduled malware cleanup, automatic patching, better logs and faster support. Start free, then pay only where a real gap shows up, such as a WooCommerce store handling card data.
How often should I back up my WordPress site?
Daily if you publish often, take orders or have active comments; weekly is enough for a quiet brochure site. What matters more than the interval is that copies go off the hosting account, that you keep more than one generation, and that you have restored one successfully. A backup you have never opened is an assumption. Quarterly, restore your latest copy to a staging address and confirm the site works.
What should I do if I think my WordPress site has been hacked?
Contain first, clean second, harden third. Put the site in maintenance mode, change your hosting and WordPress passwords from a different device, and revoke existing sessions. Then restore a known-good backup rather than patching files one at a time. If no clean backup exists, scan with a reputable tool and consider professional cleanup. Only once the site is clean should you apply the hardening steps in this guide, starting with updates and passwords.
Does SSL keep my WordPress site from being hacked?
No. SSL encrypts traffic between a visitor and your server, which stops passwords and form data being read in transit. It does not prevent SQL injection, stolen credentials, brute-force logins or malware in a plugin. Treat HTTPS as one layer in a stack: updates, unique passwords, two-factor authentication, login limits, a firewall and off-site backups. It is a cheap and necessary layer, just not the one doing the heavy lifting.
How can I tell whether a WordPress plugin is safe to install?
Install only from the WordPress.org directory or a reputable vendor, and never use a nulled copy of a paid plugin, which is one of the most common malware routes. Check the last update date, the number of active installations and whether the developer responds in the support forum. Before installing, search the plugin name with the word hacked to see whether there is a known issue. After installing, confirm it shows as active and let your firewall scan the files it added.
Do I need to hire someone to secure my WordPress site?
Usually not, if your site is a single small install and you follow the steps in this guide. Budget a few hours and you can cover the majority of it yourself. Hire help when the site is on shared hosting with no staging option, when you cannot restore a clean backup, when you suspect a server-level compromise, or when you run payment data and need help meeting PCI requirements. A one-off security review is cheaper than recovering a site.
What to Do First If Your Site Is Already Compromised
If you think someone is already inside, do not start hardening yet. Restore a known-good backup first, because hardening a compromised site protects the attacker’s access too.
Start with the panel you trust most. Change your hosting password, change your WordPress admin password, then revoke sessions. That kills any active foothold before you touch anything else.
Once the site is clean, work through the seven steps above in order, beginning with updates and passwords. Learning how to secure a WordPress site from hackers is one afternoon of work; the sign of a job done well is that the weekly routine takes twenty minutes and you never think about it again.