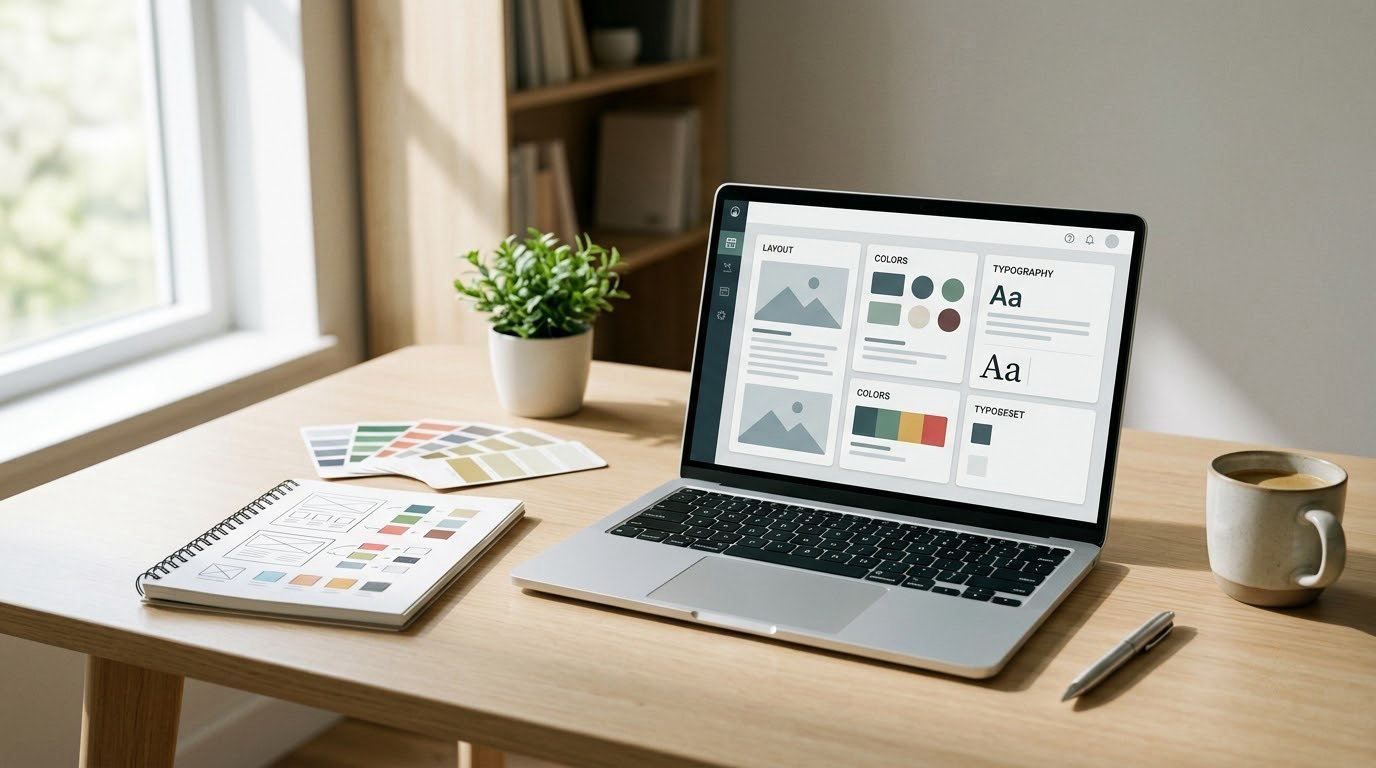
To install a WordPress theme and customize it, you do it all from the dashboard: go to Appearance > Themes > Add New Theme, pick a theme or upload its ZIP file, click Install Now, then Activate. Customizing happens right after, through Appearance > Customize on classic themes or Appearance > Editor on block themes. The whole job takes about 15 minutes for a first-timer. The menu names below match WordPress as of 2026.
The part that matters more than the clicking is what happens to your content during the switch. Posts, pages, media, and settings all survive a theme change. Menus, widget areas, and homepage layout usually do not carry over automatically, and that is where people get stuck.
So the order below is deliberate: back up first, record your current theme, install, activate, check, then customize one thing at a time.
Table of Contents
- What You Need
- Step-by-Step
- Frequently Asked Questions
- Can I install a WordPress theme without losing my content?
- What is the difference between installing and activating a WordPress theme?
- Should I use Appearance Customize or Appearance Editor?
- How do I customize a WordPress theme without breaking the site?
- Can I go back to my old WordPress theme after installing a new one?
- Do I need a paid theme to customize my WordPress site?
- Conclusion
What You Need
Five things. Miss any of them and a five-minute job turns into an afternoon.
- A working WordPress site you can reach at its admin URL, ending in
/wp-admin/. If that page errors, fix that first. - Administrator access. Editor roles cannot install themes. If you do not see the Appearance menu at all, your user role is the problem, not the theme.
- A theme source. Either a name to search in the WordPress Theme Directory, or a
.zipfile you downloaded from a theme developer or a marketplace like Themeforest. - A current backup. Your host almost certainly offers one in the control panel. If not, install a backup plugin and run it before you touch anything.
- The name of your current active theme. Write it down. Your rollback depends entirely on knowing which theme to switch back to.
One more thing worth having: a staging copy of the site. Reddit users in r/Wordpress and r/ProWordpress talk about this constantly, and they are right. A staging copy lets you break something on purpose, on a copy, before it happens on the live site.
Step-by-Step
Step 1: Back Up Your Site and Note the Current Theme
Open Appearance > Themes. The theme with “Active” underneath is the one you are running right now. Write down the name, exactly as spelled.
Then create a backup. Most hosts have a one-click backup in their control panel that emails you a downloadable archive. If yours does not, a plugin like UpdraftPlus will do the same job from inside the dashboard.
Do not skip the verification step: open the backup file and confirm it is not empty or corrupt. People have discovered a broken backup at the exact moment they needed it, which is the worst possible time to find out.
Step 2: Install the WordPress Theme from a ZIP File
Go to Appearance > Themes > Add New Theme. You get two paths here. If you want a free theme, search the WordPress Theme Directory, hover a result, and click Install Now. If you bought a theme, click Upload Theme, choose the ZIP file, and click Install Now.
That distinction between Install Now, Activate, and Delete trips up almost everyone:
- Install Now copies the theme files onto your server. It is not live. Nothing on your site has changed yet.
- Activate tells WordPress to start loading that theme’s templates and styles. This is the moment your site changes.
- Delete removes a theme you are not using. It only works on inactive themes, and it is not an uninstall that erases content.
You will know the install worked because your new theme appears on the Appearance > Themes screen with a thumbnail and an Activate button. If the thumbnail is a broken image, the upload is incomplete; delete it and try again.
Step 3: Activate the Theme and Check the Site
Click Activate, then open your site in a fresh browser tab. Not a cached one, not the tab you already had open.
Work through it in this order, because this is the order of how badly a problem will hurt you:
- Homepage. Does it render at all? A blank white page means a PHP error, and you need to fix that before anything else.
- Navigation menu. The header or footer menu is the single most common casualty of a theme switch. Classic themes store menu locations; a new theme often names its locations differently.
- One page and one post. Check that content, images, and the featured image all show.
- Widget and block areas. If the previous theme had a sidebar, the new one may not have a matching sidebar at all.
- Contact form, checkout, and any shortcode-driven content. These depend on the theme providing the layout and styling.
Write down everything that is off before you start fixing. This list is your work plan for the customization step.
Step 4: Customize the Theme
Classic themes open Appearance > Customize, the Customizer. Its controls, left to right, usually cover site identity (title, tagline, logo), colors, typography, header, menu, footer, and homepage sections. Changes preview live on the right as you click, and you publish with the Publish button at the top.
Block themes are different. They have no Customizer, and their whole site is built from blocks. You edit them through Appearance > Editor, the Site Editor, where templates and global styles live. Colors, spacing, and typography are set in Global Styles, which is the block theme’s equivalent of the Customizer’s color panel. Under the hood that panel reads a theme.json file.
If you are not sure which one you have, the test is simple: does Appearance > Customize open a full-screen preview? No Customizer item in your menu means block theme.
One rule saves more headaches than anything else in this guide: make one change, then look at the result. Five tweaks in a row, saved together, and something breaks — now you are guessing which one caused it.
Step 5: Preview, Test, and Publish the Customized Design
Use the preview controls. In the Customizer, the icons at the bottom switch between desktop, tablet, and mobile widths. Check the mobile view seriously, not as an afterthought. WordPress traffic is majority mobile, and a theme that looks fine on a wide monitor can be unusable on a phone.
Then test the paths a visitor would actually take: home, a category page, a single post, the about page, your contact page. Click every link in the menu. A theme swap breaks links in ways that screenshots will not reveal.
Before you finish, turn off caching plugins or clear the cache, then hard-reload. Old cached CSS is a common reason people think their customization did not save when it did.
On custom CSS and child themes: if your only changes are colors, logos, menus, and typography, use the built-in controls. Reach for custom CSS or a child theme when you are editing template files or adding functions, because edits made directly in a parent theme’s functions.php or templates are wiped out the next time the developer ships an update.
The child theme question comes up constantly on Reddit, and the honest beginner answer is that most people do not need one yet. A child theme inherits everything from the parent while letting you override it safely, which is a big advantage once you are shipping custom code. It is also a new layer of files to understand, and several people report that switching to a child theme broke widgets, menus, or page builder layouts that were set in the parent. If that is you, the fix is simple: install and activate the parent theme first, then create the child theme on top of it, and re-assign menus and widget areas. The Child Theme Configurator plugin is the tool Reddit users name most often for doing this without writing code.
Common Mistakes
“The package could not be installed. The theme is missing the style.css stylesheet.” Nearly always the ZIP is nested. Marketplaces like Themeforest ship a download containing documentation and a second ZIP inside it, and WordPress needs the inner one. Open the outer file, find the theme folder inside, and upload that.
If the ZIP is not nested, you uploaded the wrong file, or the theme’s root folder is missing its style.css header block. A valid WordPress theme always has style.css and index.php sitting at the top level of the folder you upload.
“The uploaded file exceeds the maximum upload size.” A server-side PHP limit, not a WordPress one. Raise upload_max_filesize and post_max_size in php.ini, or in .htaccess if your host allows it. This is also a good moment to use the FTP method instead — it has no file size ceiling at all, because the files go straight to your server.
Blank white page after activating. A PHP fatal error. Increase WP_DEBUG in wp-config.php, or switch back to the previous theme from Appearance > Themes and read the error. Frequently it is a plugin that is incompatible with the new theme, deactivated during the switch.
Menus and widgets vanished. Expected in most cases, and recoverable. Create the menu in Appearance > Menus, then assign it to the new theme’s location under Appearance > Settings > Theme Setup or the Customizer’s Menus panel. Re-add widgets to the new sidebar or block area, because content stored in an old widget area that the new theme does not register is not deleted, just invisible. It is still there if you switch back.
Your customizations disappeared after a theme update. You edited the parent theme directly. Everything you change inside a parent theme’s files is replaced on update. Move those changes into a child theme or into the Customizer and Global Styles, which are stored separately from the theme and survive updates.
You downloaded a “nulled” or cracked premium theme. Do not install it. It is modified code from an unknown source with full access to your database, your admin account, and your visitors’ data. Use the official file from the developer’s site or the WordPress.org repository, which is reviewed before listing.
Frequently Asked Questions
Can I install a WordPress theme without losing my content?
Yes. Installing and activating a theme changes only how your site looks, not what is stored in the database. Posts, pages, media, comments, users, and plugin data are unaffected. What can be disrupted is layout-related: navigation menu locations, widget and block areas, and a custom homepage layout. Back up first anyway, because layout surprises are far more common than data loss.
What is the difference between installing and activating a WordPress theme?
Installing copies the theme files from the WordPress Theme Directory, an uploaded ZIP file, or your FTP client into the wp-content/themes folder on your server. Nothing changes on the live site yet. Activating is the separate click that tells WordPress to load that theme’s templates and styles for every page. You can install several themes and activate only one at a time.
Should I use Appearance Customize or Appearance Editor?
It depends on your theme type, not your preference. Classic themes customize through Appearance u0026gt; Customize, a live-preview panel for identity, colors, typography, menus, and widgets. Block themes have no Customizer and are edited through Appearance u0026gt; Editor, the Site Editor, where templates and Global Styles live. If Customize is missing from your Appearance menu, you have a block theme.
How do I customize a WordPress theme without breaking the site?
Change one thing at a time and check the result before saving the next one. Use the built-in Customizer or Global Styles controls for colors, logos, menus, and typography rather than editing theme files. Never edit a parent theme’s functions.php or template files directly, because a theme update overwrites those changes. Keep a backup and a staging copy so you can experiment safely.
Can I go back to my old WordPress theme after installing a new one?
Yes, as long as you did not delete it. The previous theme stays in Appearance u0026gt; Themes with an Activate button, and reactivating it restores the look it had before. Its customizations survive too, since they are stored in the database rather than in the theme files. This is exactly why recording your current theme name before you switch is the step people should never skip.
Do I need a paid theme to customize my WordPress site?
No. A free theme from the WordPress.org repository exposes the same menus and controls as a paid one, and the directory only lists themes that pass a review process. You pay for design quality, support, and bundled extras, not for the ability to change colors or upload a logo. Many site owners run free themes indefinitely without hitting a limit.
Conclusion
Back up, record your current theme, install, activate, check, then customize one change at a time. That order is what turns a risky swap into a boring one, because every step leaves you a way back.
Start with the backup and the theme name. Everything after that is recoverable, and a site that still looks right on a phone at the end of the day is the only real test.