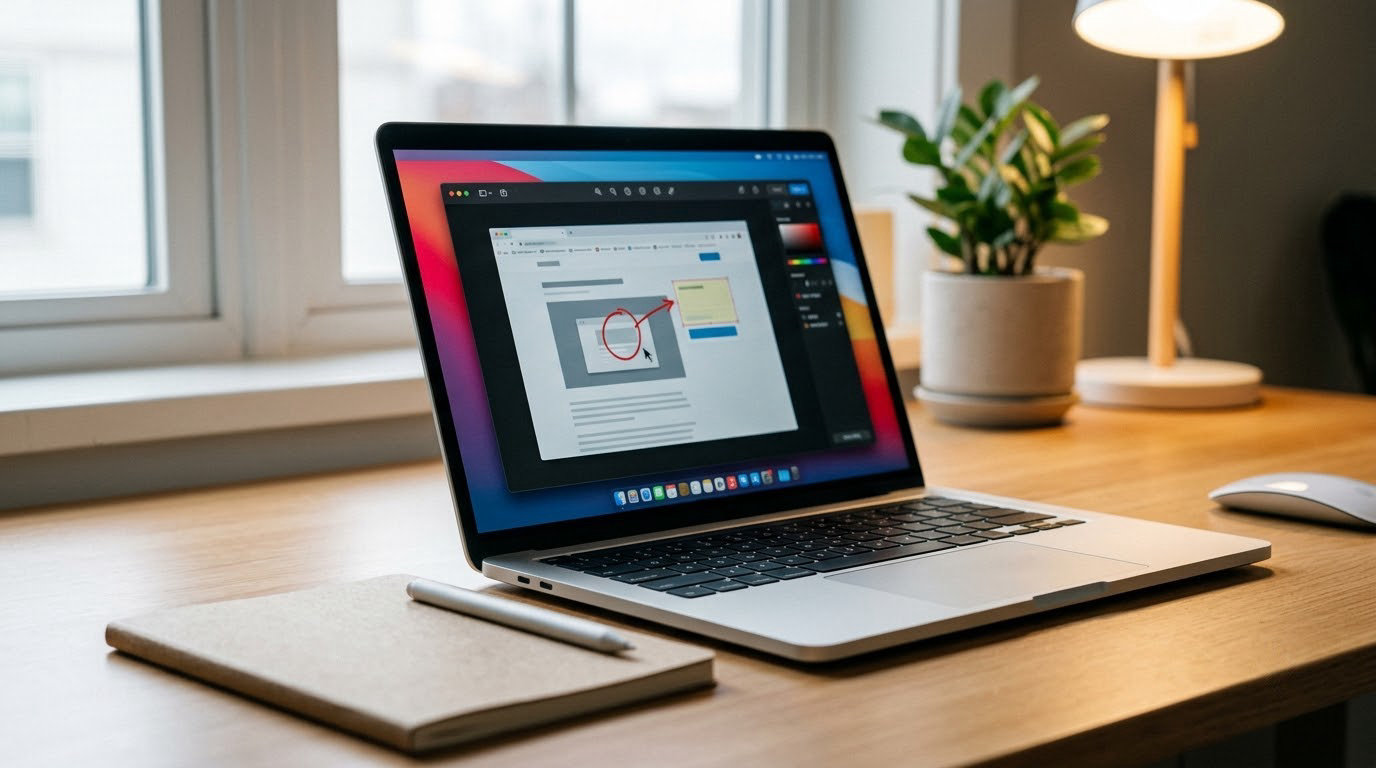
How to take and annotate screenshots on a Mac takes three keyboard shortcuts and one click on a thumbnail, and every tool involved ships with macOS. Press Cmd+Shift+4, drag over the area you want, and macOS drops a small preview in the corner; click that preview and the Markup toolbar opens right there. Most people never find this because the annotation layer stays hidden until you click the thumbnail.
Below is the whole path from pressing a key to sending a finished image, plus the mistakes that trip people up. Everything here is built into macOS, so there is nothing to download and no subscription to start.
Table of Contents
- What You Need
- How to Take and Annotate Screenshots on a Mac, Step by Step
- How to Take and Annotate Screenshots on a Mac: The Complete Workflow
- Capture a Full-Screen Screenshot
- Capture a Selected Area or a Single Window
- Open the Screenshot Toolbar With Cmd+Shift+5
- Annotate a Screenshot With the Markup Toolbar
- Save or Share the Annotated Image
- Common Mistakes and How to Fix Them
- Tips for Clearer Annotated Screenshots
- Frequently Asked Questions
- What is the fastest way to take and annotate a screenshot on a Mac?
- Where are Mac screenshots saved by default?
- How do I add arrows and text to a Mac screenshot?
- Why is the Markup button missing from my screenshot?
- Can I copy a Mac screenshot to the clipboard instead of saving it?
- How do I capture one specific window without the rest of the screen?
- Conclusion
What You Need
You need a Mac running macOS and about thirty seconds. That is the entire requirement list.
macOS gives you four capture shortcuts, and each one covers a different situation:
| Shortcut | What it captures |
|---|---|
| Cmd+Shift+3 | The entire screen, every display you have connected |
| Cmd+Shift+4 | Whatever area you drag over with the crosshair |
| Cmd+Shift+4 then Space | A single window, with a soft shadow around it |
| Cmd+Shift+5 | The screenshot toolbar, where you pick mode, timer and recording |
Two modifiers change where the image goes. Hold Control with any of the first two shortcuts and the capture copies to the clipboard instead of writing a file to your Desktop. Hold Option while dragging a selection and macOS snaps the rectangle to the edges of whatever sits behind it.
One thing worth knowing up front: the exact wording of buttons moves around a little between macOS versions. Newer releases call the annotation button Show Markup Toolbar, while older ones use Show Tools or bury it under a menu icon. The shortcuts themselves have not changed in years.
How to Take and Annotate Screenshots on a Mac, Step by Step

How to Take and Annotate Screenshots on a Mac: The Complete Workflow
Five steps, and you can do the whole thing in under a minute once it becomes habit.
- Capture the right area. Use Cmd+Shift+3 for everything on screen, Cmd+Shift+4 for a selection, or Cmd+Shift+4 then Space for one window. If you need a couple of seconds to arrange things first, use the timer in the Cmd+Shift+5 toolbar.
- Open the annotation layer. A small preview of the fresh screenshot appears near a corner of the screen. Click it before it fades and the Markup toolbar opens with the image loaded, ready to mark up.
- Pick one tool and commit to it. An arrow for pointing, a rectangle for grouping, a text box for a short label. Two or three annotations on a busy screen is plenty; ten is noise.
- Click Done. Your original capture is replaced by the annotated version and saved to the Desktop.
- Send it. Drag the file into a message, or use the Share button in the corner of the Markup window to hit Mail, Messages, AirDrop or Notes.
Step two is the part most people skip, and it is the reason screenshots arrive at work with no explanation attached.
Capture a Full-Screen Screenshot
Press Cmd+Shift+3 and the whole screen becomes a PNG file called Screenshot YYYY-MM-DD at HH.MM.SS.png on your Desktop. The filename carries the date and time, which makes files findable later even without renaming.
Press Control+Cmd+Shift+3 instead and nothing touches your Desktop. The image copies straight to the clipboard, ready to paste into Notes, a chat window or a document.
On a Mac with more than one display, Cmd+Shift+3 captures every screen and stitches them into one wide image. If you only wanted the external monitor, use Cmd+Shift+5 and choose the screen from the toolbar rather than capturing everything.
Capture a Selected Area or a Single Window
Cmd+Shift+4 turns the cursor into a crosshair. Drag it over the part of the screen you want and release, and that rectangle is captured.
Two variations make this much easier. Hold Space after pressing Cmd+Shift+4 and the crosshair turns into a camera; now clicking anywhere captures the window underneath and dims the rest of the screen so the boundaries are obvious. Adding Option to that combination captures the window with no shadow around it.
If your selection ends up on the wrong display, press Escape to cancel, then press Cmd+Shift+4 again and add the Space key. macOS treats Space as a hold-to-preview modifier that moves the selection to whichever screen your pointer is on.
To snap exactly to an element behind the crosshair, hold Option while dragging. The rectangle locks onto the edges of the window or control underneath instead of following your mouse.
Open the Screenshot Toolbar With Cmd+Shift+5
Cmd+Shift+5 is the one to learn if you take more than a screenshot a week. It opens a control strip at the bottom of the screen with the capture modes side by side: Capture Entire Screen, Capture Selected Portion, Capture Window, Capture a Long Timed Screenshot, and Record Selected Portion.
The options menu next to those modes turns on a timer of up to ten seconds, which is the fix for menus and hover panels that disappear the moment you release a key. There is also a Remember Last Selection toggle so the toolbar reopens with whatever size you last captured, and a Show Mouse Pointer option that includes the cursor arrow in the image, useful when a bug report depends on where you clicked.
Below the modes sit two more controls worth knowing. Show Floating Thumbnail decides whether that corner preview appears after every capture, and turning it on is what unlocks the fastest annotation route in macOS. The same strip also gives you screen recording, with a separate microphone toggle for capturing narration along with the picture.
Click outside the toolbar to dismiss it. It stays open until you do, which is handy when you are capturing several views of the same thing in a row.
Annotate a Screenshot With the Markup Toolbar
Two routes reach the same tools. The quick one is the floating thumbnail: click it and the screenshot opens in a small Markup window with a Done button and a toolbar of icons along the bottom.
The second route works on images that are already on your Mac. Open the file in Preview, click Show Markup Toolbar in the top bar, and the identical set of tools appears above the image. Use this path for anything you took earlier or pulled in from your phone.
Here is what each tool is actually for:
| Tool | What it does | Reach for it when |
|---|---|---|
| Sketch | Freehand pen that snaps to lines, arrows and shapes | You are circling an error or signing something |
| Draw | True freehand, no shape correction | Underlining or writing a note by hand |
| Shapes | Rectangle, ellipse, line, arrow and more, with adjustable outline and fill | Pointing at a button or grouping a block of settings |
| Text | Adds a typed box you can resize and recolour | A name, a shortcut or a short instruction |
| Highlighter | Translucent colour wash, similar to a marker pen | Emphasising a line of text without hiding it |
| Loupe | Magnifying bubble that follows the pointer | Showing fine detail or a tiny status icon |
| Signature | Stamps a saved signature drawn on a trackpad, iPhone or iPad | Approving something or marking a document |
| Crop and Rotate | Trims the image or turns it on its side | Cutting a window capture down to the relevant part |
Select an annotation to adjust it after the fact. Blue handles along the edges resize it, and the small circle at the top switches between changing size and changing appearance, which is where outline colour and fill live.
Under Adjust Color you get contrast, exposure, saturation and tint, plus Auto Levels for screenshots that look washed out. None of it is necessary, but a small exposure lift often rescues a screenshot captured on a dim screen.
One limit to know before you try: a screenshot is a flat image of pixels, so you cannot select text inside it and you cannot highlight a sentence the way you would in a document. To emphasise a line, use the Highlighter tool over it instead.
Save or Share the Annotated Image
Click Done in the Markup window and the annotated version replaces the original capture on your Desktop. If you would rather not keep a file at all, click the Share button and pick Copy, then paste straight into a conversation or document.
Images opened in Preview behave a little differently. Preview holds them as untitled documents, so File, Save As lets you pick the location, set the format and adjust the quality before it lands anywhere.
For anything going out by email, watch the size setting in the Mail compose window. Small compresses screenshots aggressively, and small interface text turns to mush. Actual Size keeps the image sharp, which matters most for bug reports and documentation.
You can also annotate without Preview at all. Compose a message in Mail or Messages, paste the screenshot into the body, click the Markup button, and the same toolbar edits it in place before it goes out.
Common Mistakes and How to Fix Them
The image is on my clipboard but I cannot mark it up. This is the single most common complaint in Mac forums, and it has no built-in fix. If you captured with Control held, nothing was written to disk, so Preview has no file to open. Recapture without the Control key, or paste it into Notes or Mail and use the Markup button there.
The Draw tool is missing from my toolbar. Some older macOS versions leave it out, and Macs without a Force Touch trackpad may hide it too. Sketch covers the same ground, since it snaps to straight lines and arrows anyway.
I cannot highlight text inside the screenshot. Not a bug and not a setting. The capture is a raster image with no selectable text layer, so the only way to emphasise a line is the Highlighter tool or a drawn box over it.
I captured the wrong window or the wrong display. Press Escape while the crosshair is active to cancel, then try again. With multiple monitors, remember that Cmd+Shift+3 grabs every screen at once; Cmd+Shift+4 lets you choose.
The recipient says the screenshot is unreadable. Usually the Mail image size, not your capture. Switch it to Actual Size, or save a separate copy from Preview at full resolution and send that as a file attachment.
Preview opens a file-open dialog instead of my new screenshot. Preview keeps a limited number of untitled screenshots open. Close any older untitled windows and the fresh one will appear where you expect it.
Tips for Clearer Annotated Screenshots
Crop before you annotate. Anything outside the frame is one more thing competing for attention, and trimming first makes the arrow land exactly where you want it.
Pick one colour and stick to it. Three different annotation colours on a single screenshot reads as unfinished work, and a single red arrow with a matching red label looks deliberate.
Keep annotations off the thing you are pointing at. Arrows that overlap the button they describe hide the very detail the screenshot exists to show. Leave a few pixels of breathing room around each target.
Do not rely on an opaque shape to hide something sensitive. A rectangle drawn on top sits in the same file as the pixels underneath it, and anyone with the right tool can pull it back out. Paste the screenshot into Preview, use the selection tools to pick the sensitive area, and apply a blur or a solid fill, then save a flattened copy before sending it.
Rename the file when it matters. Desktop screenshots pile up fast, and a default timestamp filename tells you nothing about what the image shows. A short descriptive name saves you hunting through a folder of near-identical PNGs later.
If you capture screenshots constantly, two third-party options come up often in Mac communities. Shottr is a small native app known for scrolling captures and built-in text recognition, while CleanShot X is the polished paid alternative with a similar feature set. Neither is necessary for the job described here, and Apple’s own tools cover the basics well enough.
Frequently Asked Questions
What is the fastest way to take and annotate a screenshot on a Mac?
Press Cmd+Shift+4 and drag over the area you want. Within a few seconds, click the small preview that appears near the corner of the screen to open the Markup toolbar, choose a tool such as an arrow or the text box, and click Done. The whole sequence takes a few seconds and needs no third-party app. Make sure Show Floating Thumbnail is switched on in the Cmd+Shift+5 options, or the preview will never appear.
Where are Mac screenshots saved by default?
Screenshots taken with Cmd+Shift+3 or Cmd+Shift+4 are saved to your Desktop as PNG files named with the date and time, so one file begins with Screenshot followed by today’s date and a timestamp down to the second. If you hold the Control key while capturing, the image goes to the clipboard instead and nothing is written to disk. You can change the default folder for saved captures in System Settings under Keyboard, then Shortcuts, then Screenshot, then Save Screenshots to.
How do I add arrows and text to a Mac screenshot?
Open the screenshot in the Markup window by clicking its floating thumbnail, or open a saved file in Preview and click Show Markup Toolbar. Click the shapes icon in the toolbar and pick the arrow, then drag on the image to draw it. For text, click the text icon and click or drag where you want the label to appear, then type. Use the small circle on the selected annotation to change colour, thickness or size before you click Done.
Why is the Markup button missing from my screenshot?
On older macOS versions the button is labelled Show Tools or sits behind an icon in the window’s top bar instead of appearing as Show Markup Toolbar. In Preview, make sure the image itself is selected and that the toolbar is not hidden. If you captured with the Control key held, the image only exists on your clipboard, so there is no file for Preview to open and no Markup button to find.
Can I copy a Mac screenshot to the clipboard instead of saving it?
Yes. Hold Control while pressing Cmd+Shift+3 or Cmd+Shift+4 and the capture copies to your clipboard without writing a file. You can also click the Share button in the Markup window and choose Copy. One limitation worth knowing: there is no built-in way to annotate a clipboard-only image, because macOS has no file for Preview to open. Paste it into Notes, Mail or Messages and use the Markup button there instead.
How do I capture one specific window without the rest of the screen?
Press Cmd+Shift+4, then press and hold the Space key. Your cursor becomes a camera icon and clicking on any window captures only that window, with the surrounding screen dimmed so the edges are clear. Adding the Option key to the same combination captures the window without the drop shadow. Escape cancels the capture if you change your mind before clicking.
Conclusion
If you only remember one shortcut, make it Cmd+Shift+4 for a selection, then click the floating thumbnail that appears. The Markup toolbar opens right there, you add one arrow or one label, and Done saves the result.
The habit worth keeping is restraint. Crop first, mark one thing clearly, and check for anything sensitive before you send the image on its way.