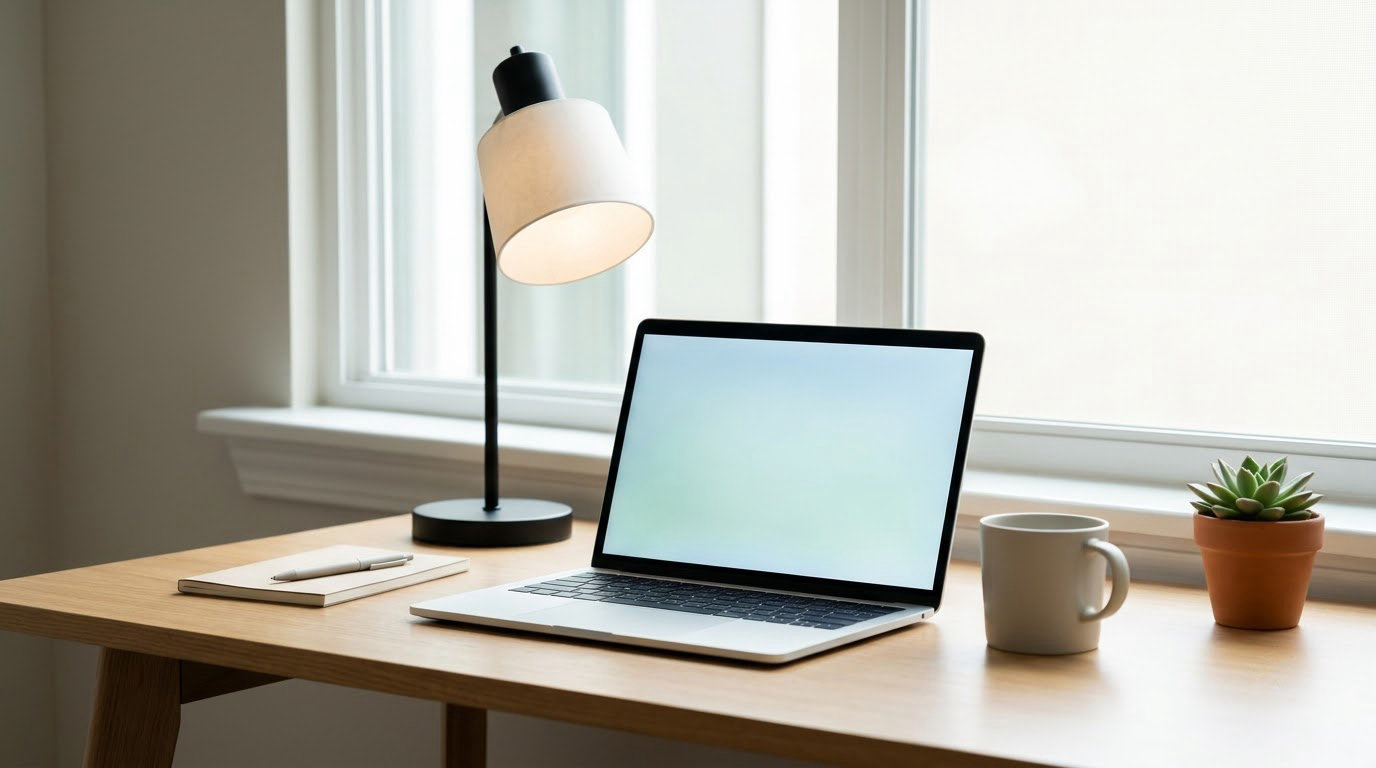
Put a soft light in front of your face, slightly above eye level, and turn off anything behind you that is brighter than that light. That single change fixes most of what makes people look tired, flat, or half-lit on Zoom, Microsoft Teams, and Google Meet, and you can do it with a desk lamp you already own.
If you want the specifics on how to look better on video calls with cheap lighting, the whole job is placement rather than equipment. A bare bulb pointed at your face creates shadows under your eyes. A window behind you turns you into a silhouette. A lamp bounced into a pale wall gives you the soft, even wash that studio lights cost real money to create.
Table of Contents
What You Need for Cheap Lighting That Actually Works
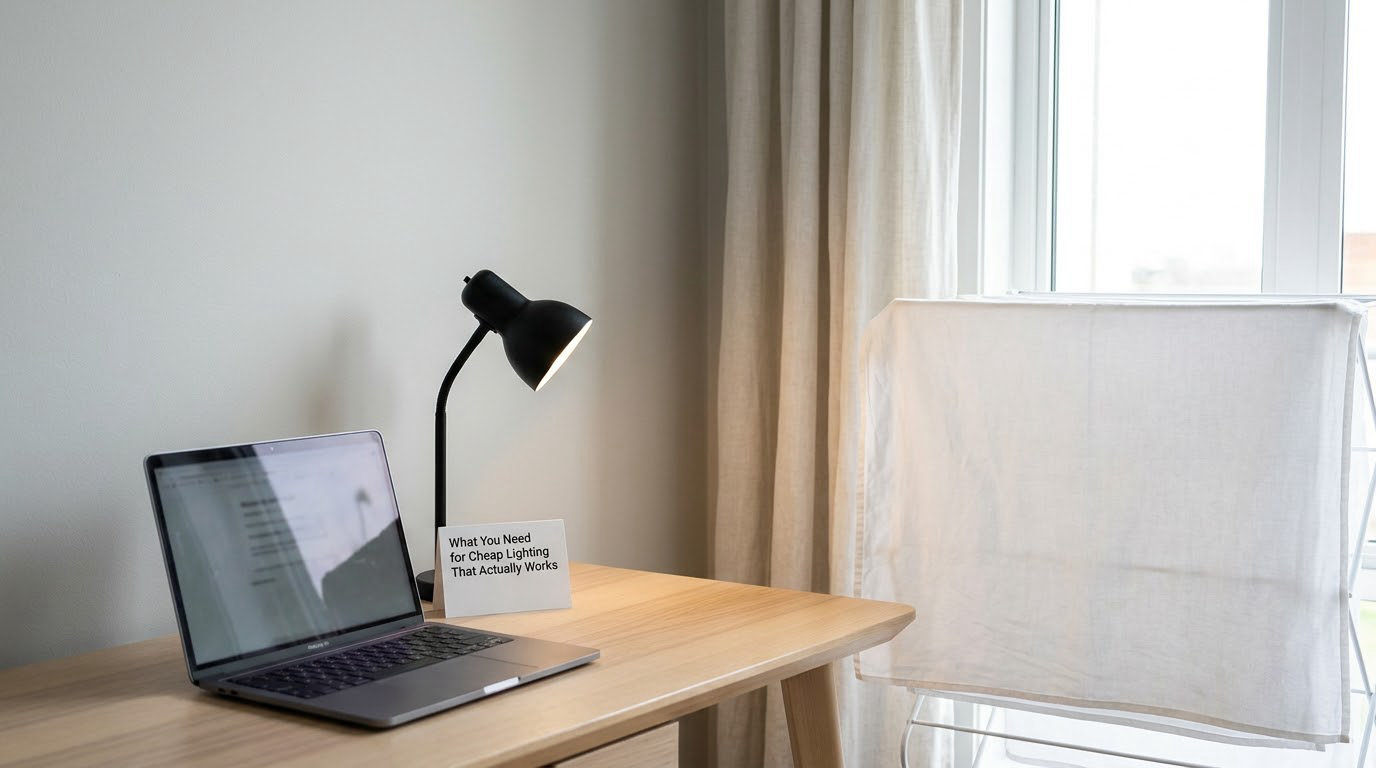
The cheapest effective setup is four things you probably already have: a room that is not pitch dark, one lamp you can aim, a plain light-coloured wall or a curtain within reach, and a light source on the opposite side of your face to fill shadows.
Any household lamp works. An adjustable desk lamp is easiest because you can move it above camera height, but a tall floor lamp with a bare shade and no lampshade can be better, because you get to point the shade anywhere.
The one thing worth adding later is a diffuser. A sheet of white poster board, a square of parchment paper, or even a folded white bedsheet held in a clipboard turns a hard point source into something soft. Cheap hardware stores sell 2mm white foam board for a couple of dollars, and it does the same job.
Step-by-Step Cheap Lighting Setup for Video Calls
Set Up Your Light Near the Camera
Place your lamp close to the webcam, on the same side as your face, and a little above your eyes. Light coming from directly above drops shadows into your eye sockets and under your nose, which is exactly the tired look people complain about.
In the camera preview, a correct setup looks like your face is the brightest thing in frame with almost no shadow under the chin. If the lamp is far to one side, you will see half your face lit and half in shade. That is the giveaway that the light needs to move forward, not brighter.
Aim the Light at a Plain Wall
Do not point a bare bulb at your face. Turn it toward a blank wall or curtain a few feet away and let the wall do the lighting. A forum favourite over on r/Lighting is exactly this: switch off the ceiling light, bounce a lamp into the wall, and the hard shadows disappear.
You get the same trick free with overhead track lighting. People on r/homeoffice ask whether it is usable for calls, and the consensus is that track spots aimed at a light-coloured wall work as one giant soft source. The wall matters: a dark or patterned wall absorbs the light and gives you nothing back.
Use a Reflector to Fill Shadows
Put a white sheet, a white pillowcase, or a piece of white cardboard on the side of your face that is darker than the other. It bounces light back and evens out the two halves of your face without adding a second lamp.
The check is simple. Compare the brightness of both cheeks in the preview. If one side is clearly darker, move the reflector closer until the difference shrinks. If the reflector is very close, you will get an obvious bright patch, so pull it back to arm’s length and angle it slightly toward your face rather than straight on.
How to Match Lighting to Your Camera and App
Laptops and phones with built-in cameras do automatic exposure and white balance, and they cope badly with high contrast, which is why a bright window behind you goes so wrong. A separate USB webcam usually holds its exposure steadier and tolerates a dimmer room better.
Check your preview before every meeting. In Zoom, open Settings, then Video, and look at the small preview tile. In Microsoft Teams, use the camera switch in the top toolbar and open the preview. Google Meet shows a preview screen when you switch the camera on, or you can open meet.google.com in a browser tab to test. Menu names shift between versions and between Windows, macOS, and mobile, so trust your own app over any screenshot.
On phones and tablets, the rear camera gives a noticeably better picture than the front one, but hold it at eye level on a stack of books rather than hand-held at chest height.
Make Final Adjustments Before the Call
Run this routine sixty seconds before you join. Check that your face is the brightest thing on screen, that both cheeks match, that no bulb or window is visible behind you, and that the camera is at or just above your eyes with a small stack of books under the laptop or monitor.
Where your device allows it, lock the exposure and white balance rather than leaving them on auto. Phone cameras usually lock focus and exposure when you long-press the screen on the camera view. If automatic brightness keeps shifting mid-call, that usually means something in the frame is moving, such as a curtain or another screen, so take it out of frame instead of fighting the setting.
Why You Look Pale and Tired on Camera
You look pale when the only light is above or behind you, so the camera exposes for the bright background and your face falls into flat, dim light. Shadow under the eyes adds the tired part. The fix is always to put light in front of your face at eye level and slightly above, then turn off whatever is behind you.
Warm or Cool: Which Color Temperature Flatters Skin
Warm white around 2700K to 3000K reads cosier on skin, while cool daylight around 5000K to 6500K looks neutral and sharp. Mixed bulbs are the real problem, because they tint your skin yellow-green or blue. A single lamp you can dim, ideally with a warm-to-cool setting, beats a brighter fixed-color bulb every time.
Common Lighting Mistakes and How to Fix Each One
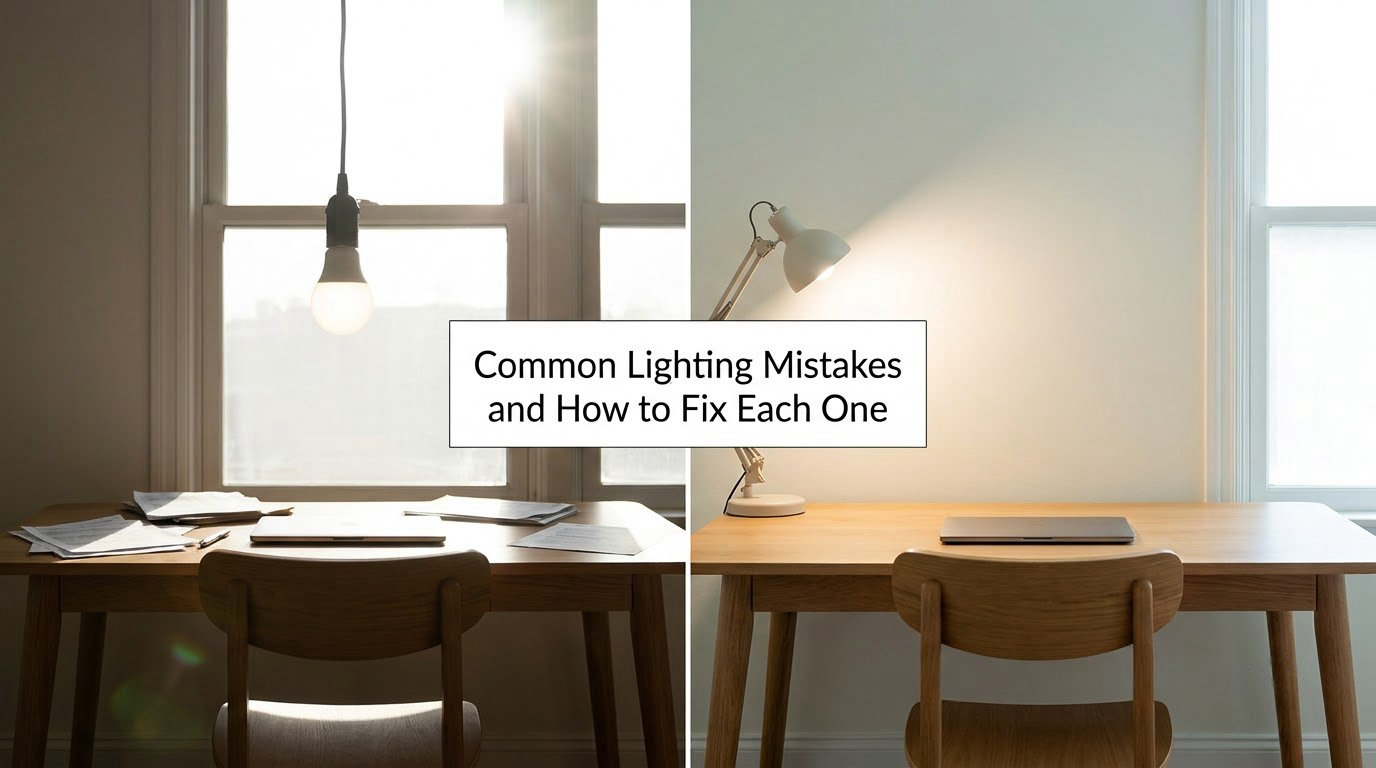
Sitting with a window behind you. The camera exposes for the window, and you become a dark outline. Turn 90 degrees so the window is beside you or in front, or hang a light-coloured sheet over the window.
Using only the ceiling light. It drops hard shadows under your eyes and nose. Switch it off once your key light is working.
Pointing the desk lamp at the screen. That puts glare on your monitor and throws your face into shadow. Aim past the screen at a wall.
Leaving a bare bulb visible. You get a small blown-out white dot and hard-edged shadows. Hide the bulb behind parchment paper or a lampshade.
Making the room almost dark. The camera raises its gain, which turns into grain and mushy detail. Brighten the background a little so your face is only slightly brighter than the wall behind you.
Leaving the background brighter than you. A lit bookshelf or white wall behind your head pulls the eye away. Dim it, or move your chair so it sits behind you instead.
Using colored bulbs. Green and blue household bulbs make skin look ill. Remove them.
Unstable camera placement. A laptop flat on a desk shoots up your nose. Stack it on books until the lens is level with your eyes, and keep it there between calls.
If you change only one thing, move the light in front of your face. Everything after that is a refinement.
Frequently Asked Questions
Do I need a ring light for video calls?
No, not if you already have a lamp and a light-coloured wall. A ring light is one way to wrap light evenly around your face, and it is cheap, but it flattens your features and puts a bright ring in your glasses and a faint donut shadow under your chin. A single lamp bounced into a pale wall gives softer, more flattering light, and a white reflector on the opposite side fills the shadows. Buy a ring light only when you cannot aim a lamp at a wall.
Does daylight work for lighting video calls?
Daylight is the best free light there is, as long as it is in front of you. Sit facing a window and turn your screen 90 degrees from it so the bright view is behind the camera rather than behind your head. Overcast daylight is even better than direct sun because it acts like a huge softbox. Keep the window clear of reflections, and if the sun is direct, hang a thin white sheet to diffuse it.
How do I stop my glasses reflecting in video calls?
Move the light away from the mirror angle of your lenses. Glasses catch a reflection when the light source sits where the camera is, so shift the lamp to one side and slightly higher, then use the white reflector opposite to rebalance your face. Thin anti-reflective coating helps, but moving the light does more. A ring light is the worst option here because its shape lands directly in the lens.
What do I do if I cannot darken my room for calls?
You do not need a dark room, you need your face to be the brightest thing in frame. Turn off the ceiling light if you can, aim your lamp at a wall beside or slightly behind the camera, and let that wall become your soft source. If the overhead light stays on, try to bounce it off a ceiling with a lampshade tilted upward, which spreads it. Even with no control over the room, a lamp close to the camera beats no light at all.
Why do I look so pale and tired on my webcam?
Because the camera is exposing for something brighter than your face, usually a window or a ceiling light behind you, which leaves you dim and flat. Light from directly above adds shadow under your eyes and nose, which reads as tiredness. Put a soft light in front of your face, slightly above eye level, and switch off whatever is behind you. The same 60-second change fixes both problems.
Should I upgrade my webcam before fixing the lighting?
Fix the lighting first. It costs nothing, takes a minute, and changes the picture more than any camera upgrade will. A better webcam produces a sharper image, but it cannot add light that is not there, and it cannot remove shadows. Once your face is evenly lit, a 1080p USB webcam is a sensible upgrade for anyone on camera daily, along with a wired connection and a pair of headphones.
Conclusion
The fastest cheap fix takes about a minute: put a lamp near and slightly above your camera, aim it at a plain light-coloured wall, hang a white sheet on the darker side of your face, and turn off the overhead light. Open your camera preview before the next call, check that your face is the brightest thing on screen with no shadow under your chin, and only then think about buying anything.