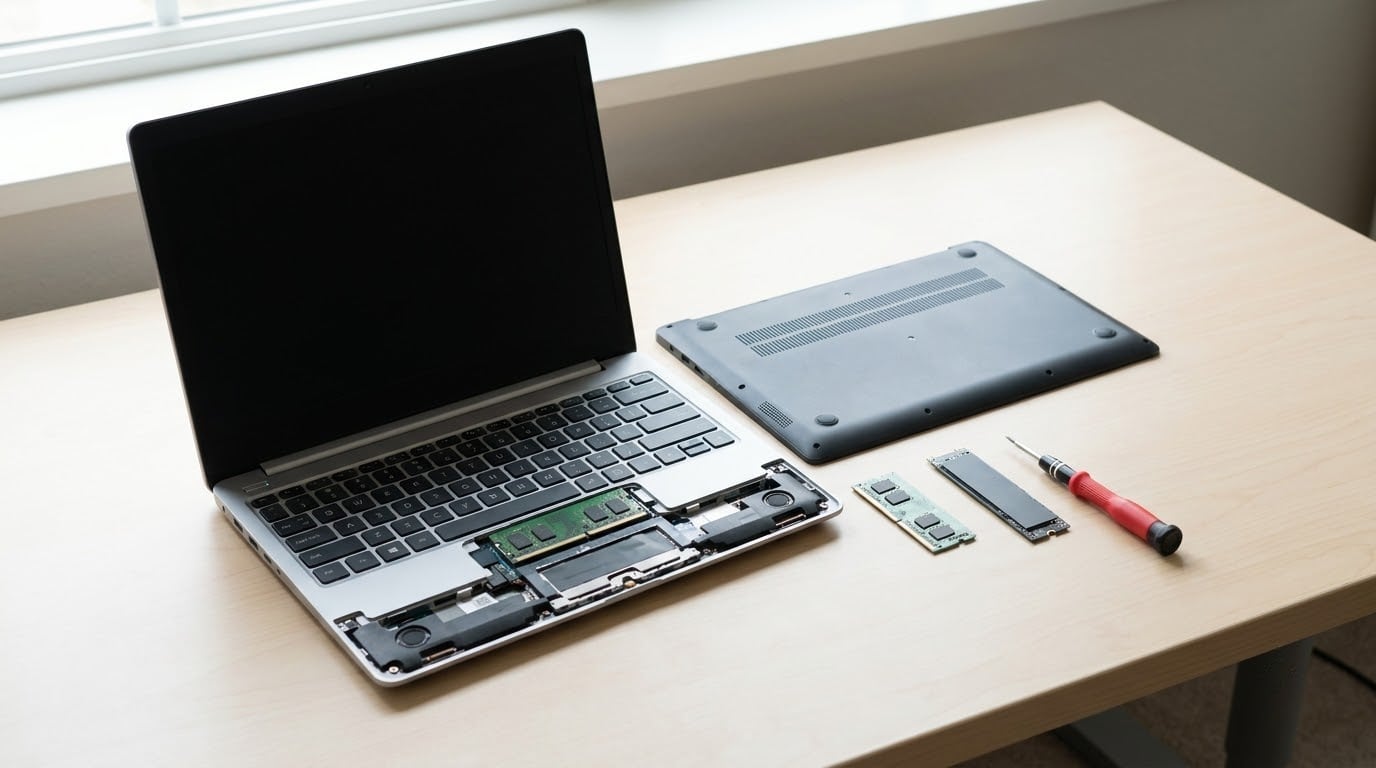
If you want to know how to tell if your laptop can be upgraded, the answer comes down to one part on most machines: the memory. Most laptops let you replace or add RAM and swap the storage drive, and many also allow a battery, Wi-Fi card or keyboard change. The processor and graphics chip are soldered to the motherboard on nearly every modern laptop, so those are effectively fixed. You can confirm the answer in about ten minutes without opening anything, using the model number, the manufacturer’s service manual and a few free Windows tools. Here is the exact workflow I use, ordered so nothing gets bought before it is verified.
A note on precision before we start: laptop designs vary even inside one product family. Two machines that look identical on the shelf can have completely different internals, because the manufacturer changes components mid-production to save money. That is why every step below starts with the exact model number rather than the product line name.
No tools are needed for the first three checks. You need them only for the physical confirmation in step 5, and even then nothing more exotic than a small Phillips screwdriver.
Table of Contents
What You Need
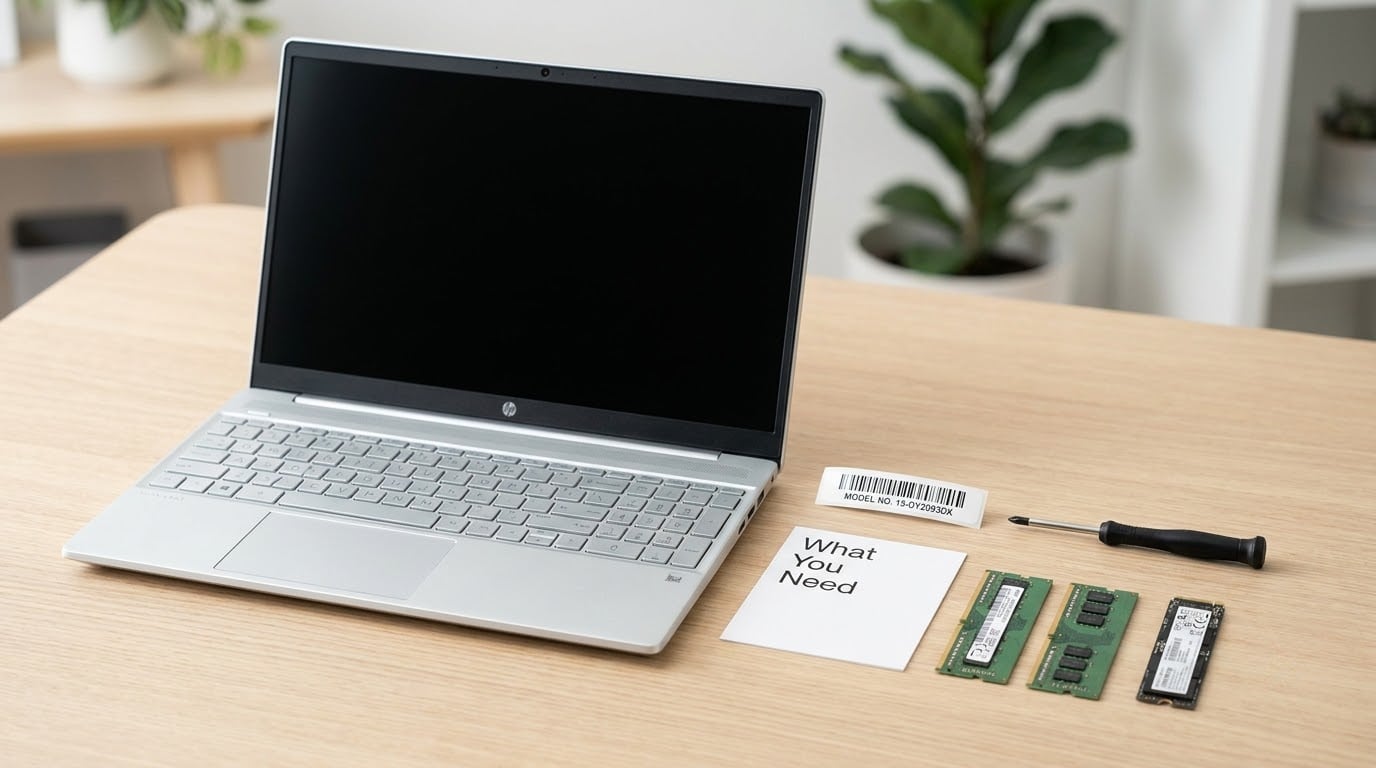
Gather these before you start, and the whole process goes smoothly.
- Your exact model number. Not the marketing name. It sits on a label on the underside, and it also appears in the system information screens on both Windows and macOS.
- The manufacturer’s maintenance and service guide. This is the document that shows memory slot counts, maximum supported capacity, and which parts the company considers user-replaceable. It is more reliable than any retailer spec page.
- Access to the machine’s system information. On Windows that means Settings, Task Manager, System Information and Command Prompt. On macOS it means Apple menu, About This Mac and Option-click on System Report.
- A free scanner app, optional but fast. Memory vendors publish desktop tools that read your exact slot layout, maximum capacity and module type in one pass.
- A small Phillips #0 screwdriver and a plastic pry tool, for step 5 only.
- A backup of your files, before any panel comes off. Not optional, and not something to skip because the machine seems fragile.
- Your warranty terms, opened in a browser tab. More on this in step 5.
That is the whole kit. Everything in steps 1 through 4 is read-only and carries no risk to the machine.
Step-by-Step: How to Tell If Your Laptop Can Be Upgraded
Work through these five checks in order. Each one narrows the answer, and each one can be done without spending money or opening the chassis until the very end.
1. Identify the Exact Laptop Model and Check Its Manual
The model number is the entry point for everything else, and finding it takes about a minute. On Windows 10 and 11, press Windows key plus I, then go to System, then About. The Device name and System type lines are at the top of that page. On a Mac, click the Apple menu, then About This Mac, then hold Option while clicking System Report to reveal the full machine identifier.
If the on-screen route is unhelpful, turn the laptop over. There is almost always a regulatory sticker listing the model, serial number and manufacturing date. Some manufacturers print a shortened code, so write down everything on that label.
Then search for the service guide using that exact code. Each of the major brands publishes its own:
- HP publishes maintenance and service guides by series on its support site, and the guides are usually downloadable PDFs.
- Dell hosts a searchable service manual library, including board and component diagrams, in its support documentation section.
- Lenovo publishes hardware maintenance manuals per series, usually labelled as a ThinkPad, IdeaPad or ThinkBook hardware maintenance manual.
- ASUS and Acer both publish user guides and, on many models, a separate disassembly or service document.
- Apple publishes repair guides with step-by-step teardown, though on recent machines those guides also serve as a clear signal about what is not user-serviceable.
Why this step matters: the same series can ship with two soldered memory chips in one SKU and a single SO-DIMM socket in another. Model families are marketing buckets, not engineering documents. The manual is the document.
Once you have the guide, search it for three things: the number of memory slots, the maximum supported memory, and the supported storage type. That one file answers most of how to tell if your laptop can be upgraded before a single screw comes off.
2. Determine Whether the Memory Is Upgradeable
Memory is the part most people care about, and it is the part with the most confusion. The single question that decides everything is whether the memory is soldered directly to the motherboard or seated in removable sockets.
Soldered memory is bonded to the board with surface-mount balls and cannot be removed by a user without specialized equipment. On soldered machines, capacity upgrades are simply not an option, and replacement is the only path if you need more.
Three software checks tell you which you have, and none of them require opening the laptop.
Check one: Task Manager, Performance, Memory. Press Ctrl plus Shift plus Escape, click Performance in the sidebar, then Memory. The panel shows total installed memory, speed and form factor. Look for the line reading slots used out of total slots. If it reads 1 of 2, you have one populated socket out of two physical sockets, and there is room to add a matching stick.
Check two: System Information. Press Windows key plus R, type msinfo32, and press Enter. Under Memory, the items list shows each memory module the firmware reports, including its form factor. A form factor of 12 means SO-DIMM, the short removable laptop module. Anything reported as a single large block is more likely soldered memory, although some firmware reports soldered chips as devices too, so read this alongside the other checks.
Check three: Command Prompt, for the capacity ceiling. Open Command Prompt and run:
wmic memphysical get maxcapacityexThe output is a number in kilobytes. Divide it by 1,048,576 to get gigabytes. So if the figure reads 16,777,216, the answer is 16 GB. This is the widely used method for finding the real ceiling, and it frequently reports more than the specification sheet admits, because manufacturers often list only the capacity they tested and certified rather than what the board can physically address.
For the details of each installed module, run:
wmic memorychip get memorytype,capacity,speed,configuredclockspeed,devicelocator,formfactor,manufacturer,partnumberPartnumber is the one that matters most. It is the manufacturer part code printed on the module itself, and you can search that code to buy a matching stick without guessing. On Linux, the equivalent is sudo dmidecode --type memory.
Why Task Manager and wmic can disagree. This trips up almost everyone. Task Manager counts memory sockets. The wmic memorychip command counts memory devices the firmware describes. On a machine with one stick soldered to the board plus one empty socket, Task Manager may report one occupied slot while the command output shows two devices, or the firmware may report one block for the whole soldered section. When an Acer Aspire owner documented this exact conflict, opening the machine settled it: there really was a second, empty slot.
The rule is simple. Treat software as strong evidence but not as proof, and let the physical check in step 5 have the final word.
A second shortcut that proves a machine is user-upgradeable. Search your exact model number on the upgrade-kit pages run by memory makers such as Kingston and WD. If a maker publishes a guaranteed-fit kit with a specific part number for your exact model code, that is strong independent evidence that your machine has accessible slots and a replaceable drive. It is not proof about maximum capacity, so still check the service guide.
3. Check Whether the Storage Can Be Replaced or Expanded
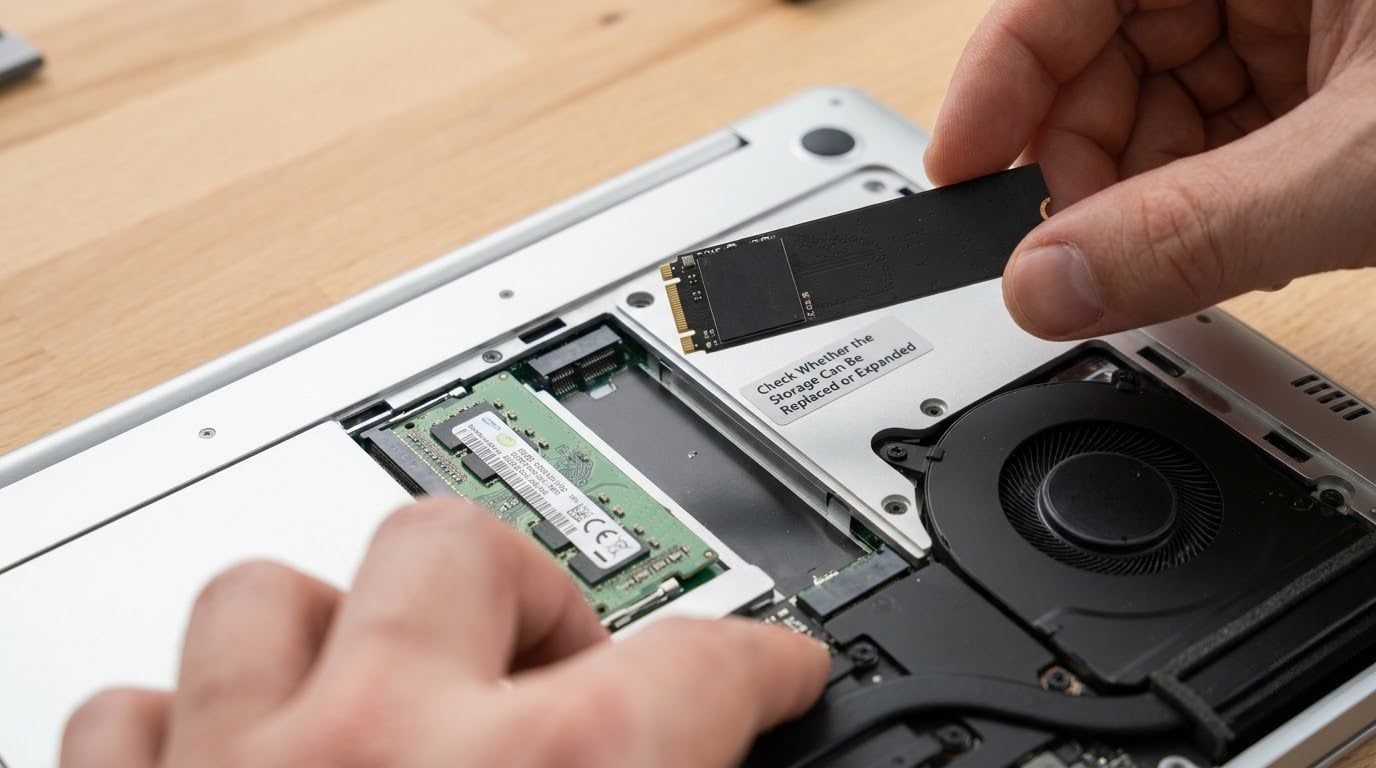
Storage is the upgrade that helps the most machines and the most people. An old laptop with a mechanical hard drive becomes dramatically faster with a solid-state drive, usually the single biggest improvement you can make.
Four physical formats matter here.
- 2.5-inch SATA drive sits in a caddy bay connected by a short data cable and a power connector. Replace it with a 2.5-inch SATA SSD of the same thickness.
- M.2 slot, SATA protocol is a small gumstick-shaped connector. It accepts 2.5Gb/s SATA SSDs.
- M.2 slot, NVMe protocol looks identical but uses PCIe lanes and runs several times faster. Nearly every current laptop M.2 slot accepts NVMe, but a few older and cheaper machines are SATA-only.
- MicroSD slot is not an internal upgrade. It adds removable capacity and costs you a card slot while inserted, so treat it as a different product from a real drive swap.
The other detail that trips people up is physical length. M.2 drives come in lengths, and the two you will meet are 2280, which is 22 mm wide by 80 mm long and is by far the most common, and 2242, which is shorter and 42 mm long. A 2280 drive physically will not fit in a 2242 slot, and a 2242 drive will often rattle around loosely in a 2280 slot or not latch properly. Some laptops have two M.2 slots, which lets you keep the original drive and add a second one rather than cloning.
How to find out which you have without opening the machine: read the service guide, which usually lists a drive bay or M.2 slot in the parts list. Then run the free scanner app and look at the storage section, which reports the current drive type and, on some models, the number of bays.
In Windows, Device Manager, then the Disk drives section, tells you what is installed right now but not how many slots exist. For the physical count, the service guide and the opened machine are the only reliable sources.
One more case worth naming: some thin ultrabooks have no internal drive bay at all and rely solely on a microSD slot. Owners often discover this only after buying. The service guide settles it in ten seconds.
4. Look for Other Upgradeable Parts
Beyond memory and storage, several parts are replaceable on many laptops, while the core computing components are almost never replaceable. This table is the fastest way to see where your machine stands.
| Component | Usually upgradeable? | How it is done | Typical difficulty |
|---|---|---|---|
| RAM (memory) | Yes, if it sits in SO-DIMM sockets | Open the bottom panel, add or swap modules | Easy |
| Solid-state drive | Usually | Replace the existing drive, or use a spare M.2 slot | Easy to moderate |
| Mechanical hard drive | Yes, replace with an SSD | Unmount the caddy, connect the new drive | Moderate |
| Battery | Often, if it is user-replaceable | Disconnect and swap the pack | Easy to moderate |
| Wi-Fi card | Often | Disconnect antennas, swap the card | Moderate |
| Keyboard | Usually, on business models | Release the top case clips, lift the keyboard | Moderate to hard |
| Cooling fan | Often | Unplug and replace | Moderate |
| Screen or display panel | Possible but not recommended | Panel and cable routing vary wildly by model | Hard |
| Processor (CPU) | Rarely, and rarely practically | Soldered BGA package on most models | Not feasible for a user |
| Graphics card (GPU) | Almost never | Integrated or soldered into the motherboard | Not feasible for a user |
| Motherboard | No | Unique to each model and often paired to the CPU | Not feasible for a user |
| Firmware (BIOS or UEFI) | Not hardware, but updatable | Flash an update from the manufacturer’s site | Easy, with risk if interrupted |
The pattern is worth understanding, because it explains everything else. Processors and graphics chips use BGA packaging, where the connection pads sit under the chip and can only be made with reflow equipment. Laptops also use a unique motherboard per model, and the firmware is tuned to that exact board and chip combination. This is why the consensus across repair forums is that laptop upgrades effectively stop at RAM, drives, battery, keyboard and occasionally the CPU.
On Apple hardware in particular, recent models use unified memory soldered to the board, and the storage is soldered too on many of them. When the company publishes a repair guide for a machine, that guide is a reliable signal about which parts are considered serviceable.
5. Verify Compatibility, Cost and Warranty Impact
You now know what can be upgraded. The last step is making sure the part you buy will actually work, and that opening the machine will not cost you your warranty.
Memory compatibility has four rules.
- Generation must match. A DDR4 module does not fit or work in a DDR5 slot, and neither does DDR3. This is the physical and electrical incompatibility that ends the conversation.
- Form factor must match. Laptops use SO-DIMM, the short module. Full-size DIMM is a desktop format and will not fit.
- Faster speeds bridge down safely. If the machine is rated for DDR4-2666 and you install DDR4-3200, it usually runs at 2666 without complaint. Speed degrades gracefully.
- Timings do not degrade gracefully. This is the trap that costs people real money. On a machine that requires CL19 memory, a CL15 or CL16 stick is usually simply not recognised, while a slower-speed module with looser CL22 timing will run fine. So the module number printed on your existing stick is the safest thing to match.
Storage compatibility has three rules. Match the physical length (2280 or 2242), confirm the slot accepts the protocol you are buying (NVMe or SATA), and check whether the slot is keyed. Most current laptops use the standard M key, but some older and smaller machines use a shorter B key or a special layout that will not accept a standard drive.
Check whether the manufacturer approves the part. The service guide often names specific approved or tested modules. Using an approved part removes most of the guesswork and keeps any remaining warranty argument on solid ground.
Check the warranty before you open anything. Read the terms rather than assuming. Many manufacturers allow you to install memory and storage without affecting coverage, provided you use parts meeting their specification and you do not damage the machine. Some manufacturers restrict battery replacement to their own parts. Others tie coverage to using an authorised service centre for anything beyond adding memory. The failure modes people fear most, liquid or physical damage, are exactly what voids coverage, so read carefully.
Estimate whether the gain is worth the effort. The honest framework is simple. Adding RAM only helps if your memory is actually full in normal use, so open Task Manager, then Performance, then Memory and watch the In use figure during your heaviest task. If committed memory sits around half or below and the machine still feels slow, more RAM will not change much, and the storage drive or the processor is the real limit. A mechanical drive swapped for an SSD, by contrast, improves boot time, application launch and file transfer immediately, and it is usually the better first move on an older machine.
Know when replacing is the better call. If the processor is too old for the current version of Windows, no memory upgrade changes that. Check the supported processor list and the TPM 2.0 requirement before investing. Older machines that miss the official requirements can still be useful with an extended support release for the current Windows version, with Linux, or with ChromeOS Flex, so the machine is rarely worthless, but be realistic about what each option gives you.
Finally, the physical confirmation. Power the machine off, unplug the charger, and remove the bottom panel. Look for the SO-DIMM sockets at right angles to the board and the M.2 slot, which is a short surface connector with a single retaining screw. Note any labels or part numbers, take a photo before disconnecting anything, and reconnect the battery exactly as it came out. This is the only step that settles a disagreement between software, the manual and your assumptions.
After the upgrade, verify before you celebrate. Boot the machine and open Task Manager, Performance, Memory. The capacity should show your new total, and if the machine now reports two sockets used out of two, the second module was recognised. A machine that boots but shows the old capacity means the module did not seat fully or the timing is out of range, so power down and reseat it rather than returning it immediately.
Run a memory test next. Windows Memory Diagnostic lives in the search box under Windows Memory Diagnostic and tests on the next restart. Third-party tools run a deeper pass without a restart. This catches a faulty module before it turns into random crashes a month later.
If you swapped the drive, clone the old one before wiping it, using the cloning software that shipped with your new drive or any reputable cloning tool. Then run a full check that Windows activates and your programs open, because a cloned drive occasionally loses the activation state and needs a fresh product key entry.
If the machine will not boot at all, remove the new module and try again with only the original. That single test tells you whether the problem is the memory, and it takes two minutes. If the machine boots fine but the new drive is not detected, reseat the M.2 screw and confirm you seated the module at the correct angle before ruling out a dead drive.
Common Mistakes
These are the errors that lead to the wrong upgrade decision, or to a part that arrives and does not fit. Each has a straightforward fix.
Assuming every laptop has accessible slots. Retailer pages often use phrases like user-upgradeable in a general way. The fix is to check the service guide for your exact model code and look for a memory or drive diagram, not to rely on the wording on a sales page.
Mixing memory generations or form factors. A DDR5 module in a DDR4 slot will not seat, and a full-size desktop DIMM will not fit at all. The fix is to match the part number reported by the wmic memorychip command rather than guessing from the slot count.
Buying fast RAM that the timing rules reject. Slower speed bridges down and works. Tighter timings usually prevent the module from running at all. The fix is to match the CL number printed on your existing module, or to buy a matched pair.
Treating an external drive as an internal upgrade. A microSD card or an external USB drive adds files, but it does not make the system faster, and a card in the slot occupies a connector. The fix is to search the manual for an internal bay or M.2 slot before treating storage as solved.
Ignoring the M.2 physical length. A 2280 drive does not fit a 2242 slot, and a 2242 drive may not latch properly in a 2280 slot. The fix is to check the length printed on the service guide parts list.
Opening the chassis without reading the warranty or backing up. Damage from a slipped screwdriver is the classic voiding event. The fix is to read the terms first, back up your files, and keep every screw in a small tray so nothing ends up under the rubber feet.
Upgrading one part when another is the bottleneck. Adding RAM to a machine with a mechanical drive leaves the slow part slow. Adding a faster SSD to a machine short on memory or built on an old processor moves the frustration rather than removing it. The fix is to watch which resource actually maxes out in Task Manager while you work.
Trusting the specification sheet for the memory ceiling. Manufacturers frequently publish only the tested or certified capacity. The fix is to run wmic memphysical get maxcapacityex and convert the figure, then confirm against the service guide.
Upgrading while the laptop is plugged in or with the battery connected. On some models the battery powers the board even when shut down, and unplugging it is part of the procedure. The fix is to disconnect the internal battery first on any machine whose guide says to do so.
Frequently Asked Questions
How do I know if my laptop can be upgraded?
Start with the exact model number from the underside label or your system settings, then look up the manufacturer maintenance and service guide for that code. The guide lists memory slot count, maximum supported capacity and storage type. Confirm with Task Manager, which shows slots used out of total, and run wmic memphysical get maxcapacityex for the capacity ceiling.
How can I tell if my laptop RAM is soldered?
Check Task Manager under Performance and Memory. If the panel shows one solid block with no slot count, or reports slots used equal to slots total with no free socket listed, the memory is probably bonded to the board. A free SO-DIMM socket, a part number readable in wmic memorychip output, or a guaranteed-fit upgrade kit for your model all point the other way.
How much RAM can my laptop support?
Run wmic memphysical get maxcapacityex in Command Prompt and divide the result by 1,048,576 to convert kilobytes into gigabytes. This usually reports the hardware ceiling, which is often higher than the figure printed on the retailer specification page. Confirm against the service manual for your exact model code before buying.
Does opening my laptop to upgrade it void the warranty?
It depends entirely on the manufacturer and the part. Many brands allow memory and storage upgrades by the owner as long as approved parts are used and nothing is damaged. Some require their own battery, and some tie coverage to authorised service for anything beyond adding a module. Read your specific warranty terms before removing any screws.
Can I upgrade the CPU or graphics card in a laptop?
On almost all modern laptops, no. The processor and graphics chip are soldered to the motherboard using BGA packaging, and the firmware is tied to that exact combination. The realistic upgrade list for a laptop is memory, storage, battery, Wi-Fi card, keyboard and sometimes fans. If you need a faster processor or graphics, a different machine is the only route.
Is a ten year old laptop still worth upgrading?
Often yes, especially if it still runs a mechanical hard drive. Swapping in a solid-state drive gives the largest improvement on any aging machine. If the processor is not on the supported list for the current Windows release, check whether an extended support release, Linux or ChromeOS Flex works for what you need before deciding. Storage first, then memory.
Conclusion
Start with the model number and the service manual. Those two documents answer the question that no amount of guessing will: whether your machine has free memory sockets, how much memory it will address, and what kind of drive it takes. Cross-check the manual with Task Manager and the wmic memory and capacity commands, then confirm physically if the answer still feels uncertain.
If you remember one thing about how to tell if your laptop can be upgraded, remember that the model code is the answer key and the service guide is the map. Buy nothing until those steps agree with each other. The whole check takes under ten minutes, and it is the difference between a sensible upgrade and a part that sits in a drawer.
1 thought on “How to Tell If Your Laptop Can Be Upgraded: 5 Checks 2026”