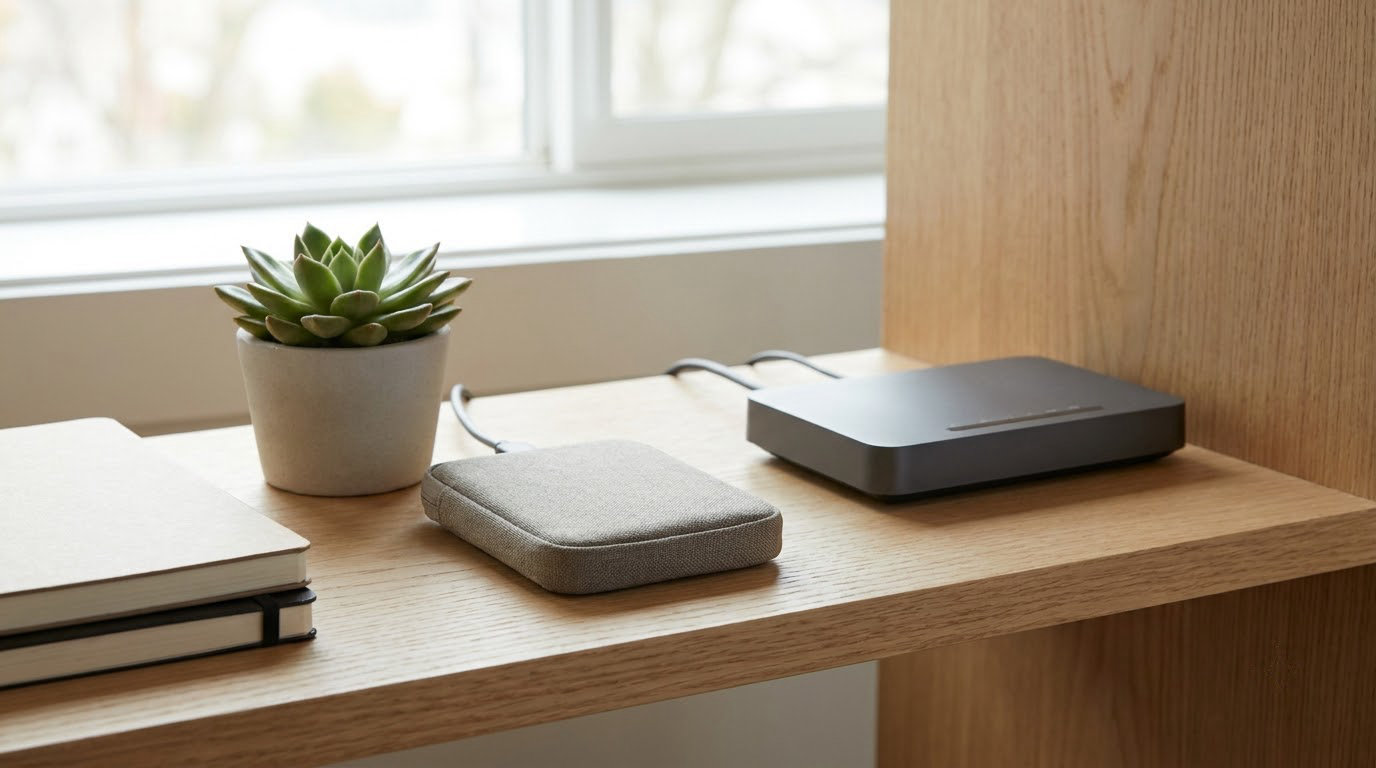
Set up automatic backups you never think about by turning on the tool your device already ships with, pointing it at an external drive or a cloud account, and picking a schedule. On Windows 11 that tool is File History, on a Mac it is Time Machine, and on a phone it is iCloud or Google backup. Fifteen minutes of setup handles it.
Automatic backup just means a background service copies your new and changed files to a second location on its own, keeps older versions in a rotating window, and writes a log you can check later. You never press anything after day one.
Most data loss is not a dead hard drive. It is a deleted folder, a phone dropped in a sink, a ransomware note, or a laptop that will not power on. Those are exactly the cases an automatic copy handles and a yearly reminder to drag a folder onto a USB stick does not.
The setup below covers Windows 11, Windows 10, macOS, iPhone and Android, and it works whether you have never backed anything up or you have five half-finished attempts already running.
Table of Contents
- What You Need
- How to Set Up Automatic Backups You Never Think About: Step-by-Step
- Common Mistakes
- Frequently Asked Questions
- Should automatic backups go to an external hard drive or the cloud?
- Are cloud storage services automatically backups, or just file syncing?
- How often should automatic backups run?
- Can automatic backups protect my files if my computer is stolen?
- How do I know whether my automatic backup is actually working?
- Does backing up photos to Google Photos or iCloud back up my entire phone?
- Conclusion
What You Need

You need very little. The whole job fits inside an evening, and most of that evening is deciding what matters to you.
- A destination. An external hard drive or SSD of at least twice the size of your data. A cloud account works too, and for photos and documents many people run both.
- A second destination if you can spare it. A drive you keep in a drawer, or a NAS on your network. A backup sitting on the same desk as the computer is not protection from theft or fire.
- Free space. Check the drive before you start. Incremental copies with versioning need roughly two to three times the size of your live data, because older versions accumulate as you edit.
- A clear decision about what to protect. Most people only need documents, photos, videos, and the one folder where their work lives. Backing up the whole drive on a slow laptop turns into a job that never finishes.
- Closed applications. Save and close files with unsaved changes before the first run, since a file open in an editor may be skipped or captured half-written.
Decide local or cloud before you click anything. Local to an external drive is fast and unlimited, and it is the one to use for large video libraries. Cloud is automatic from any device and survives a stolen laptop, which makes it the better fit for documents and phone photos.
If you have a business machine with client files on it, treat that as a separate job with its own destination, and keep one copy off the network entirely.
How to Set Up Automatic Backups You Never Think About: Step-by-Step

Choose a Reliable Backup Method
Pick the method before you pick the software, because the destination decides what happens when something goes wrong.
A local external drive gives you speed, huge capacity and no recurring fee. Its weakness is that it plugs into one machine and stays there, so it protects against deletion, corruption and drive failure but not against a fire or a theft.
Cloud backup protects against almost everything physical, since the copy sits somewhere else entirely. Its weaknesses are cost once your library passes the free tier limit, slow restores of big archives, and one shared failure mode: if your account is locked or suspended, the files go with it. People on backup forums keep running into exactly that.
Device-provider backup, meaning iCloud on Apple hardware and Google backup on Android, is the easiest option and the easiest to forget about. It covers device settings, messages, app data and photos, and it needs no extra software. It does not cover your laptop’s home folder.
| Method | What it protects | Automation | Main weakness |
|---|---|---|---|
| File History (Windows) | Libraries, desktop, documents folders | Hourly by default | Needs the drive connected and awake |
| Time Machine (Mac) | Everything on the internal drive | Hourly while idle | Apple format disk needed for system restore |
| iCloud / Google backup (phone) | Photos, settings, messages, app data | Automatic on Wi-Fi and power | Storage capped by your plan |
| Cloud sync (OneDrive, Drive, Dropbox) | Files you move into the synced folder | Real time | Deletions and damage propagate to every device |
| Third-party tool to a drive or NAS | Whatever folders you point it at | Scheduled, with versioning | Needs setup and a real restore test |
If you want one rule from the people who answer these questions for a living: sync and backup are different jobs. Sync mirrors your current state everywhere, which means a deletion or an encrypted file becomes the current state everywhere too. A real backup keeps history, so it survives that.
Set Up Automatic Backups on Windows
Windows 11 moved File History into Storage settings, so the click paths differ from Windows 10. Both take about five minutes.
On Windows 11:
- Connect the external drive to a USB port.
- Open Settings, then System, then Storage, then Advanced storage settings.
- Choose Backup & Restore (Windows 7).
- Select Add a drive, pick the external drive, then tick Back up my files.
- Choose a frequency. Hourly is the default and costs nothing extra on a modern drive.
- Click Start now to create the first version, then turn on the drive’s encryption option.
On Windows 10:
- Open Control Panel, then File History.
- Select Add a drive on the left, pick the external drive, then click Use this drive.
- Leave Show backup options ticked so you can confirm your folder choices, then click Start now.
File History keeps versions inside a folder named after the drive, and the default retention is generous enough that you can walk back to yesterday’s version of a document you overwrote this morning. That is the feature that justifies it over a plain copy.
For a full machine image you still have the older Backup and Restore (Windows 7) tool on the same screen. It can schedule itself through Task Scheduler, which is worth doing the night before a major Windows update, but it is not the everyday answer for ordinary files.
If File History feels limited, free tools like FreeFileSync and Duplicati are the two names that come up most on backup forums for incremental copies to a drive, a NAS or a cloud target. They cost nothing, and the trade is that you have to configure them once and then leave them alone.
Set Up Automatic Backups on macOS
Time Machine is the whole job on a Mac, and it is the easiest set-and-forget setup on any platform.
- Plug in the external drive. If it asks to erase it, that erases the drive, so double-check the label before you confirm.
- Open the Apple menu, then System Settings, then General, then Time Machine. On older macOS versions it sits at Apple menu, then System Preferences, then Time Machine.
- Click Add Backup Disk and pick the external drive.
- Turn on Encrypt Backups and set a password you will remember. This is the one step people skip and later regret.
- Leave the backup interval on. macOS runs hourly while the machine is plugged in and idle, then sleeps.
To include an iPhone or iPad in the same backup, connect it by cable or over Wi-Fi and tick it under Options. Time Machine also handles folders macOS normally skips, like your Desktop and Documents.
You know the first backup succeeded when the drive shows a partition and Time Machine reports a completed session, usually within an hour for a typical library. After that you should see a new backup whenever you plug the drive in.
Set Up Automatic Backups on Android and iPhone
Phones need two different switches turned on: one for the whole device, and one for your photo library. People set the first and assume the second followed, then lose a year of photos.
iPhone and iPad:
- Open Settings, tap your name at the top, then iCloud, then iCloud Backup.
- Tap Back Up This Device and leave Back Up over Wi-Fi on.
- Turn on Back Up to iCloud at the top of that screen if you want it to run on cellular too.
- For the photo library only, use Settings, then Photos, then Sync to iCloud.
iCloud Backup needs enough space under your Apple account plan. When it runs out, the oldest backups are dropped, so check available storage under Settings, then your name, then iCloud.
Android:
- Open Settings, then Google, then Backup, then Back up now to run the first one.
- Turn on Back up to Google Drive and leave the default schedule.
- For photos, open Google Photos, tap your profile picture, turn on Backup, and choose the storage quality setting that matches your plan.
WhatsApp chats: open WhatsApp, then Settings, then Chats, then Chat backup, then Back up. Turn on End-to-end encrypted backup if you want the archive readable without your phone. Chat history is not part of a normal phone backup, so this switch is the only thing copying it.
Test and Maintain Your Automatic Backup System
A green success message is a claim, not proof. The test takes about ten minutes and is the step that separates a backup from a hope.
On a Mac, open Time Machine and browse the drive in Finder, then drag a random photo from a few years ago onto the desktop and open it. On Windows, open File History, find the drive folder, and double-click a document from an older version. On a phone, check that the newest photo appears in the cloud gallery on a different device.
Then write down the date of that successful restore. Set a calendar reminder for 90 days out, because the failures that matter are the quiet ones: a drive that stopped getting plugged in, a subscription that quietly downgraded, or a password nobody recorded.
Two habits keep it running. Leave the backup drive connected but disconnect it when you are not using it, which stops ransomware from encrypting the copy. And put a copy of your encryption passwords in a password manager, because an encrypted backup you cannot open is an expensive paperweight.
Common Mistakes
Here is where people usually go wrong, and the small fix each one needs.
The first mistake is assuming a cloud account is a backup. A provider such as OneDrive, Google Drive or Dropbox mirrors changes in real time, so an accidental deletion becomes a deletion everywhere, and ransomware that encrypts your Documents folder encrypts the synced copy too. Fix: use a versioned copy as your safety net, and treat sync as convenience.
The second is keeping the backup on the same drive as the original. Fix: the copy must sit somewhere that fails independently. An external drive, a NAS or a cloud account all qualify; a second folder on the same internal disk does not.
The third is forgetting passwords. An encrypted drive with a lost password is unrecoverable, and no consumer backup service will reset it for you. Fix: store the key in a password manager the day you set encryption up.
The fourth is never testing a restore. Fix: pick one file you care about, restore it to a new location, and open it. Do that in the first week, then roughly every quarter.
The fifth is ignoring storage limits until a backup fails quietly. Versioning eats space, and a nearly full destination is the most common cause of a scheduled job that reports nothing. Fix: leave at least twice your live data size free.
The sixth is setting a schedule you cannot keep. A monthly full backup sounds responsible, but a month of unsaved laptop work is gone when the drive fails in week two. Hourly on Windows, hourly on Mac, and continuous on your phone are all cheap enough to leave on permanently.
One quiet failure deserves its own mention: a backup drive that stays in a drawer. Scheduled jobs on a disconnected or sleeping USB drive often fail without telling you, which is why people report a backup that quietly stopped months ago. Either keep it connected, or pick a destination that stays reachable on its own.
The 3-2-1 rule is the shape to aim for: three copies of your data, on two kinds of media, with one copy somewhere offsite. Most people get to two and stop, and the offsite copy is the one that matters after a fire.
A few final tips: run one extra copy before any big Windows or macOS update, disconnect the backup drive during risky work, and revisit your setup whenever you change subscription plans or buy a new device.
Frequently Asked Questions
Should automatic backups go to an external hard drive or the cloud?
Usually both, doing different jobs. An external drive is faster, holds far more data and works well for photo and video libraries. Cloud storage is the better copy for documents and phone photos because it survives a stolen or burned laptop. If you can only run one, pick cloud for everyday documents and buy a drive for anything too large to upload comfortably.
Are cloud storage services automatically backups, or just file syncing?
Mostly just file syncing. OneDrive, Google Drive and Dropbox mirror the current state of your folders to every signed-in device, including deletions and any encryption a virus applies. Their version history gives you a limited window back, usually around 30 days, so treat them as a convenience layer. A true backup keeps history you control.
How often should automatic backups run?
As often as the software allows. File History, Time Machine and both phone backups all default to hourly or continuous, and on modern hardware that costs you almost nothing. Daily backups for a small business, weekly full images for a personal machine and continuous cloud backups for phones are all reasonable floors, but hourly is the easier answer once it is automated.
Can automatic backups protect my files if my computer is stolen?
Only if a copy of your data lives somewhere other than the computer itself. A backup on an external drive that stayed at home does nothing when the laptop is gone. A cloud backup does protect you, because the copy is on a server you log into from anywhere. For sensitive files, add encryption so the copy is unreadable without your password.
How do I know whether my automatic backup is actually working?
Check two things: the log or history screen inside your backup tool should show a recent successful run, and you should restore one file to a new location and open it. A backup that has never been restored is an untested claim. Do the restore test in the first week after setup, then again every few months when you are already checking something else.
Does backing up photos to Google Photos or iCloud back up my entire phone?
No. Photo backup covers your camera library only, and it often compresses or stores copies according to the storage quality setting you pick. A full device backup covers photos plus settings, messages, call history and app data, and it runs as a separate switch. Turn on both if you want to be able to replace a lost phone with the new one.
Conclusion
Start tonight with one thing: plug in an external drive and turn on File History or Time Machine, whichever machine you use most. That single switch protects your documents, photos and work folder from deletion, corruption and hardware failure starting tomorrow morning.
Once it has run overnight, spend ten minutes restoring one old file to confirm it works. After that, turn on your phone’s device backup and photo backup, and you have a set-and-forget system that will hold up without you thinking about it again.